Haft: NOUN. the handle of a knife, axe, or spear.
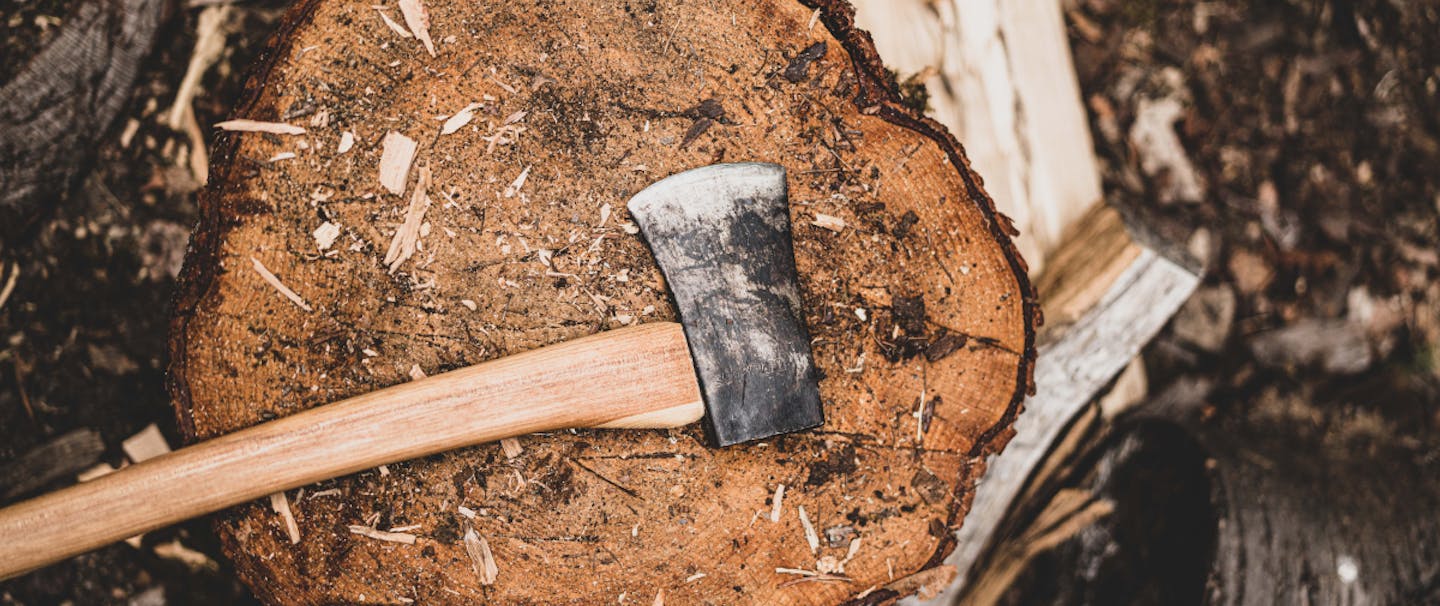
FOUND IN MOST ANY WOODSHED OR CANOE PACK, OR ON THE FLOORBOARD OF MOST FARM TRUCKS, THE AXE IS ONE OF THE MOST VERSATILE TOOLS AVAILABLE TO THE OUTDOORS ADVENTURER. A GOOD AXE CAN FELL A TREE, SPLIT KINDLING, HAMMER IN A TENT STAKE, BUTCHER AN ANIMAL, AND, IN THE RIGHT HANDS, PERFORM DELICATE TASKS SUCH AS CARVING OR FOOD PREP. WITH THE EXCEPTION OF ULTRALIGHT BACKPACKING TRIPS, I CARRY AN AXE OR HATCHET WHENEVER I’M IN THE WILDERNESS. OFTEN, I WILL CHOOSE TO CARRY A SMALL HATCHET IN PLACE OF A FIXED-BLADE KNIFE, AS IT CAN PERFORM ALL OF THE SAME TASKS AND MORE, WITH THE ADDED LEVERAGE OF A LONG HANDLE.
As with any tool, an axe is only useful if maintained properly. Much of that maintenance is routine, such as sharpening, keeping the head and handle oiled, and careful use to minimize damage. Occasionally, more significant repairs will be needed. Axe handles break, and replacing the handle can keep a well worn axe-head in service and keep you from having to purchase a replacement.


A good axe can fell a tree, split kindling, hammer in a tent stake, butcher an animal, and, in the right hands, perform delicate tasks such as carving or food prep.
The first step to rehafting an axe is acquiring a quality replacement handle. I have carved handles from slabs of hickory, but more often than not, I purchase handle blanks from a local hardware store or online retailer. A note: if you find a supplier that carries handles that you like and are of good quality, purchase more than one—quality handles are hard to find. Should the need arise to rehaft again, having a quality handle on hand will save you having to search for one.
I have found that most factory handles are too stout, and I prefer to remove some material with a scraper before handling my axes. This is also a good opportunity to remove the varnish. Varnish is a decent protectant for handles in transit, but it is not the finish I want on my axe during use.

tools and materials
● Serviceable axe-head
● Appropriately sized handle of quality hardwood (hickory, oak, maple)
● Wooden and steel handle wedges
● Rasp
● Flat file
● Card scraper or substitute scraping tool
● Functional axe or small hammer
● Hand saw
● Fine grit sandpaper (optional)
● Linseed or tung oil
● Rags
● Pencil
the process
First,- ensure that the handle fits into the eye on the axe-head. If it does not, remove enough material using the rasp to allow you to slide the handle into the axe-head. Seat the head with a few blows to the end of the handle and then knock the head back off. Using the marks left by the head as points of reference, remove material with the rasp to improve the fit. Repeat this process several times, fitting the head and removing material until you gain a nice even fit all the way around. This will ensure a strong connection upon final assembly.
Once you have a good fit, seat the head by applying forceful blows to the bottom of the handle until the head refuses to drift further. There is a simple technique to be sure you are doing this properly. Mark the location of the head with a pencil, then strike the handle another couple of times. If the pencil line is still visible, the handle is well set and has not continued to drift. Using the hand saw, trim the handle about half an inch above the head.
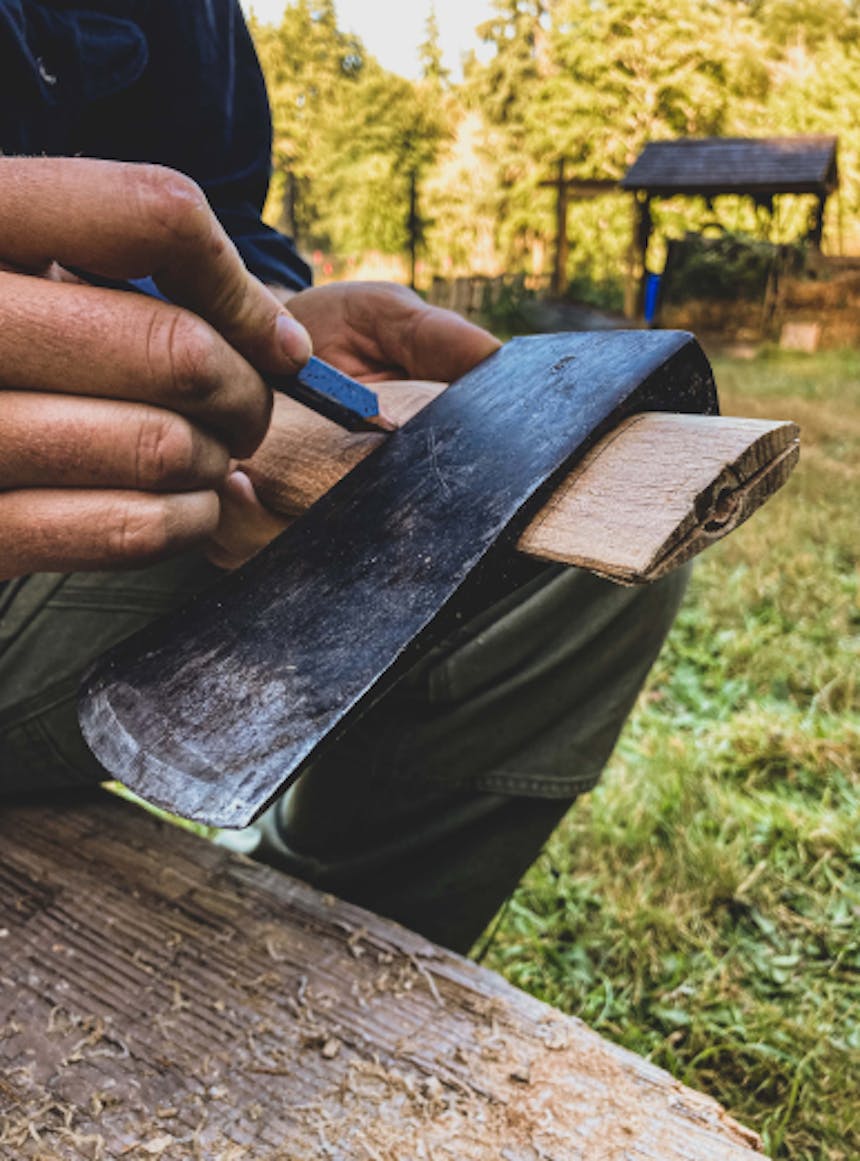

Now it’s time to cut the wedge kerf. Remove the head with light taps on the head end of the handle. With a hand saw, and using that drift index mark as a reference point, cut the wedge kerf until it is about two-thirds the depth of the axe-head.
Reseat the head on the handle. Trim the wooden wedge to size. Fit the wedge into the kerf, and hammer it home with even blows until it advances no further. Trim the wooden wedge and handle flush with the head using a hand saw.
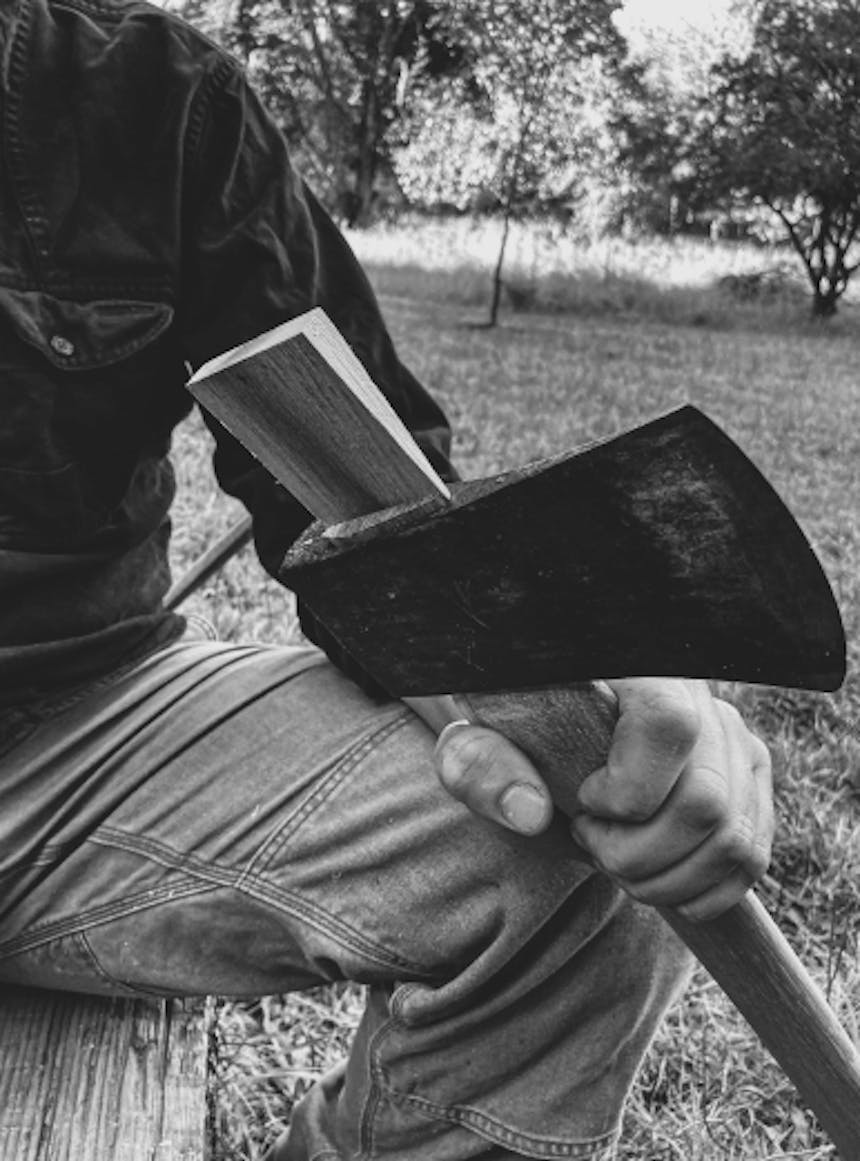
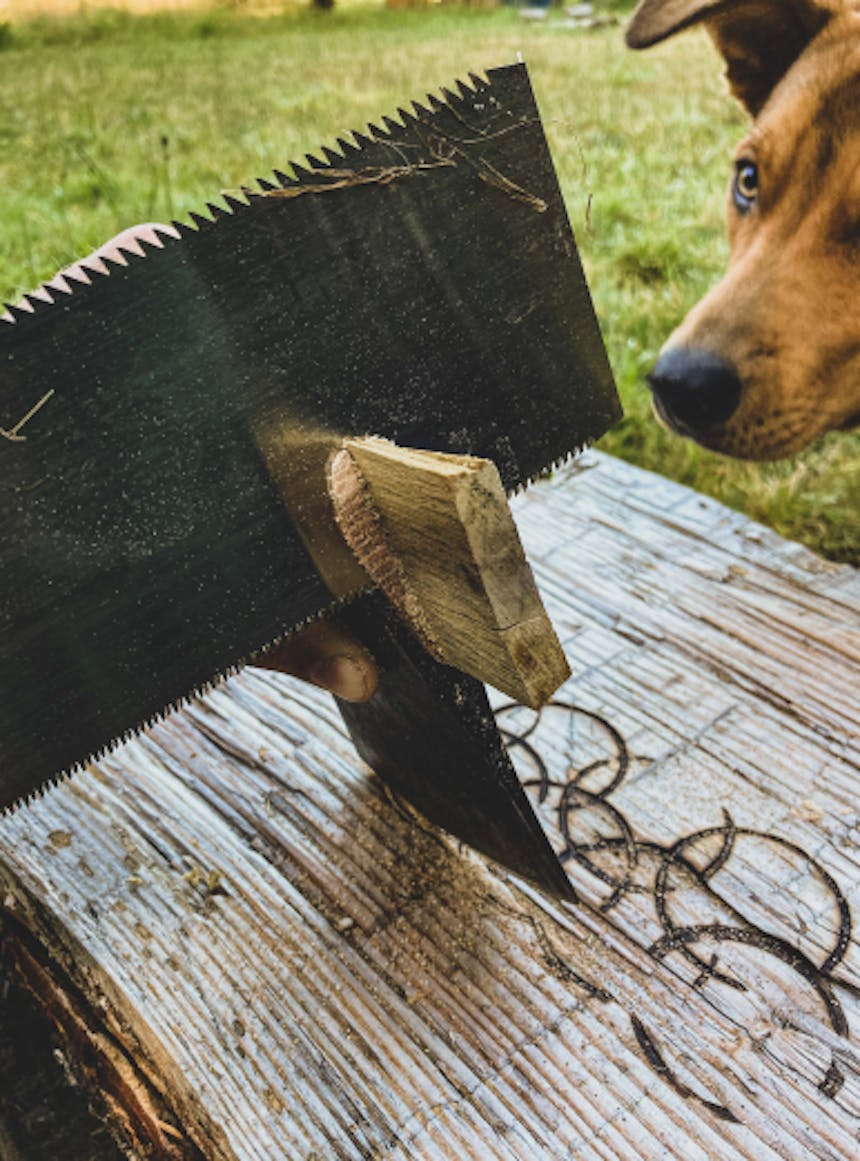
A metal wedge will increase the strength of the bond between head and haft. I like to notch the wedge with a file. Should I need to remove it down the line, this makes pulling the wedge much more straightforward.
Once the notch is cut, drive the metal wedge into the center of the wooden wedge, on a slightly offset angle.


Now that everything is solid, a good coat of oil will give a nice sheen to the wood, help make your axe handle weather resistant, and make the axe more comfortable to use. Wiping oil on with a rag is the simplest method. I like to do at least four coats, allowing each to soak in before adding another. A more robust technique is to soak the whole axe in oil for some time, allowing for deep penetration. If using this technique, be sure to wipe away any excess oil after soaking, as any residue will become very sticky as it cures. Either way, the oil needs time to cure in a dry, well-ventilated place before the axe is ready for use.
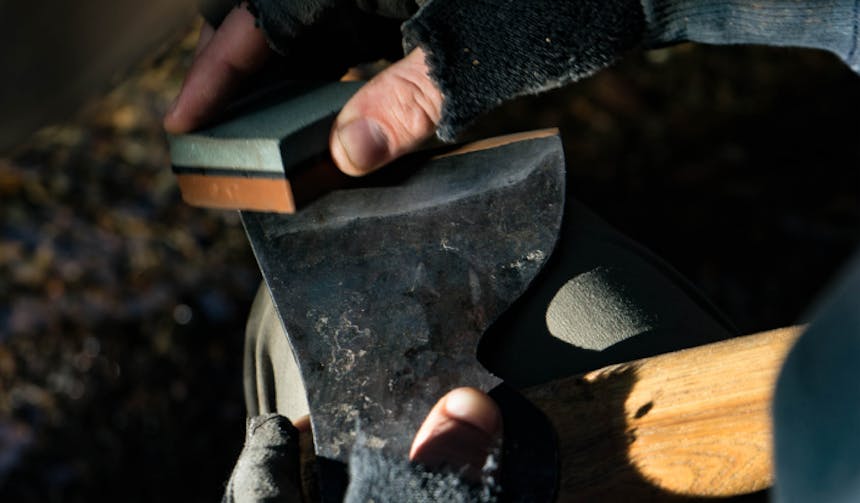
At this point, your axe is handled. A quick sharpening with a stone, and it’s ready to use. Especially at first, check regularly to make sure that the handle is not backing out and that your wedges are still seated. Re-oil the handle if it looks dry and before storing it for an extended period. As with all cutting tools, a dull axe is a dangerous axe. Good edge maintenance is simple and will make for more safe and enjoyable work.
