Dan Wowak is the owner and instructor at Coalcracker Bushcraft and the Appalachian Bushman School. He’s been an avid outdoorsman since childhood. His passion for the outdoors began while fishing and hiking with his grandfather in the hills of Appalachia. Here he shares his expertise on building a survival shelter out in the wilderness, from natural materials.
When it comes to survival in the outdoors during an emergency situation, there are four elements humans need in order to maintain and keep ourselves safe. These elements are known as the survival priorities, and they include fire, water, food, and shelter. Without meeting these needs, our chances of surviving are slim to none.

Dan Wowak, owner and instructor of Coalcracker Bushcraft and the Appalachian Bushman School.
When spending time outdoors, people typically carry water, food, and some type of fire starter. Shelters, on the other hand, can be bulky, heavy, and undesirable to carry on a day trip. If the day trip takes a turn for the worst, building a shelter from available materials is an option. A shelter should serve us in several ways. First, it should be a barrier between us and the environment. Second, it should help insulate us. And third, it should offer us a sense of security. Construction of a survival shelter is a fairly simple process, but it does require some time.
STEPS TO BUILDING A SURVIVAL SHELTER
Step 1: Find a Location
When deciding to set up a shelter, it is important to evaluate the area. Try to choose a location that is naturally protected from the wind, and be sure that water is not going to flood or run through the area if a storm hits.

Step 2: Insulate the Ground
Start by building a rectangular frame from logs. Fill the frame with debris, such as dried leaves or pine branches. The debris will provide insulation that will prevent the ground from drawing heat away from the body. This is extremely important, as most body heat is lost through ground transfer.
Step 3: Frame the Shelter
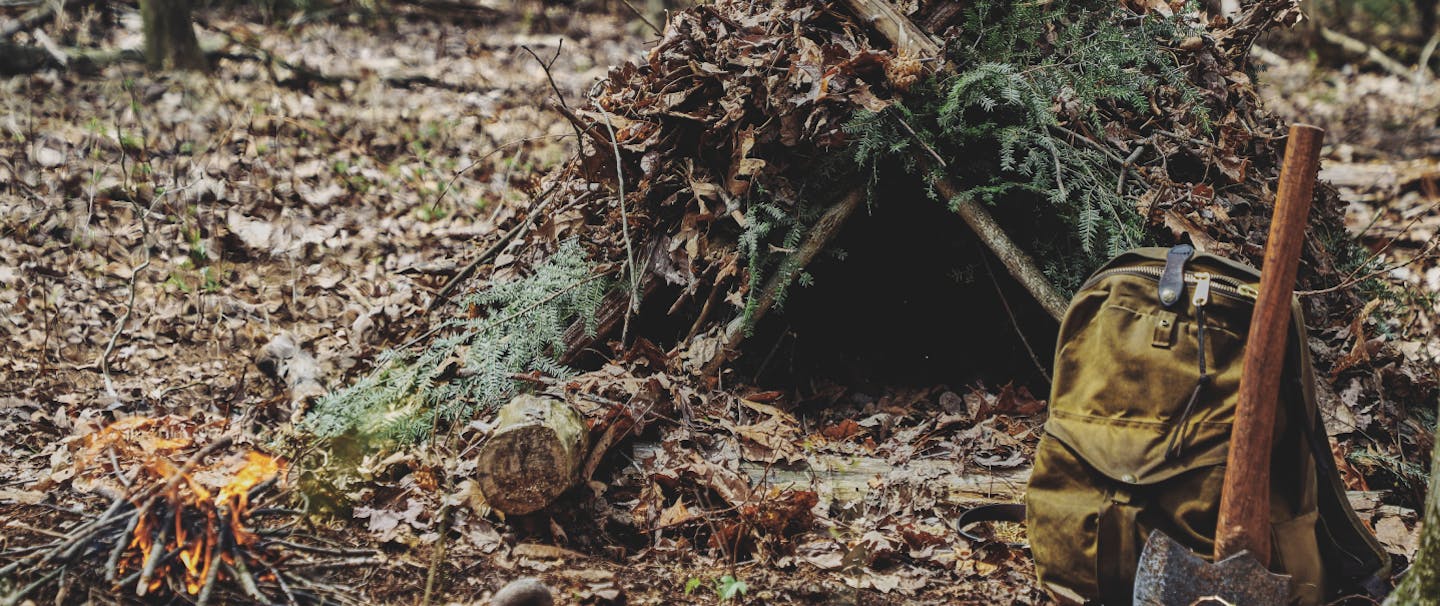
It’s important to remember that this type of shelter is for emergency use. Therefore, the shelter cavity should only be large enough to fit your body. The most efficient design for this type of shelter is an A frame. Adjust sticks from each side of the shelter so they meet at the top. Continue to construct the frame, placing the sticks from front to back. During this phase, it is important to think outside the box and be creative in how the sticks lock together.
Step 4: Pile It On
Once the frame is constructed, it’s time to add a thick covering of debris over the entire outside of the shelter. This is the most time-consuming part of building a natural shelter. Pile leaves, sticks, and branches over the entire frame. This insulation should be 4 to 8 inches thick, enough to hold back rain and keep the inside of the shelter dry.
The most important thing to recognize when creating a survival shelter is that it is a temporary shelter designed to keep you alive rather than comfortable. Natural debris shelters are typically damp and cool inside, and they may even leak a bit. Being uncomfortable and alive is better than the alternative.


