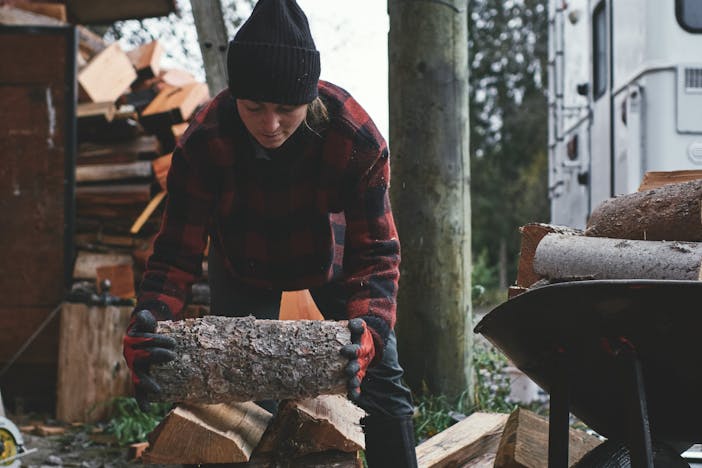
Assuming you’re finished splitting your logs, the next step is planning and building a storage area to keep these. This will allow your firewood to cure and age – fresh logs are known as green wood and shouldn’t be burned in the fireplace or stove as they need time to dry. Proper stacking and storage will also provide a safe location to protect your wood from the elements while keeping out any unwanted pests from your home.
Follow these five steps to learn how to store and stack your wood:
Supplies:
- Split firewood
- Pressure-treated wood pallets, or 2 x 4’s (quantity depending on the amount of firewood)
- Tarp or plastic sheeting
- Wheelbarrow or alternative hauling device to haul chopped wood
- Rocks or heavy object to secure tarp/plastic sheeting
- Log carrier

Step 1. SELECT A LOCATION
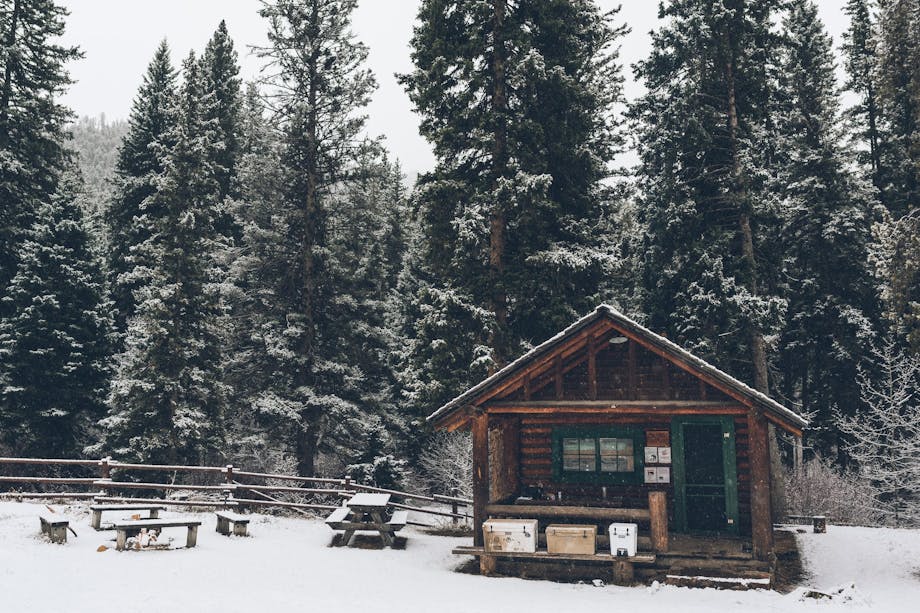
Selecting a storage location is as important as the stacking itself. It’s recommended to store your firewood outdoors, as opposed to inside, to avoid any unwanted critters such as spiders, termites, etc. Ideally, a location approximately 20 ft from your nearest door will provide ample distance, while also being easily accessible.
Ideal site qualities include dry ground not prone to flooding, regular sun exposure, and airflow. Orient your stack so it runs perpendicular to the direction of the prevailing wind. If the wind is less predictable in your location, align north to south to catch the west-east wind.
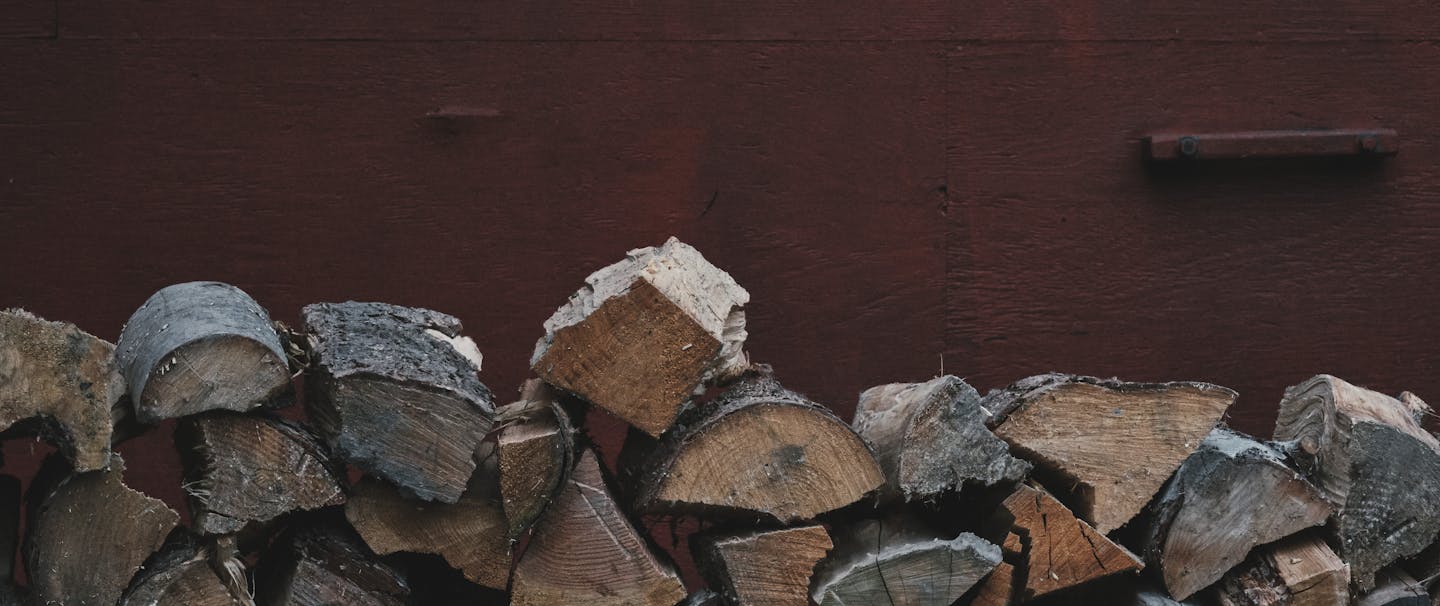
Step 2. BUILD A BASE
Lay down your pallets, or 2 x 4’s. This will provide separation between the ground and your wood to deter moisture from seeping into your wood. If you live in a damp or snow prone climate, apply a tarp or plastic sheeting to add another barrier of protection.

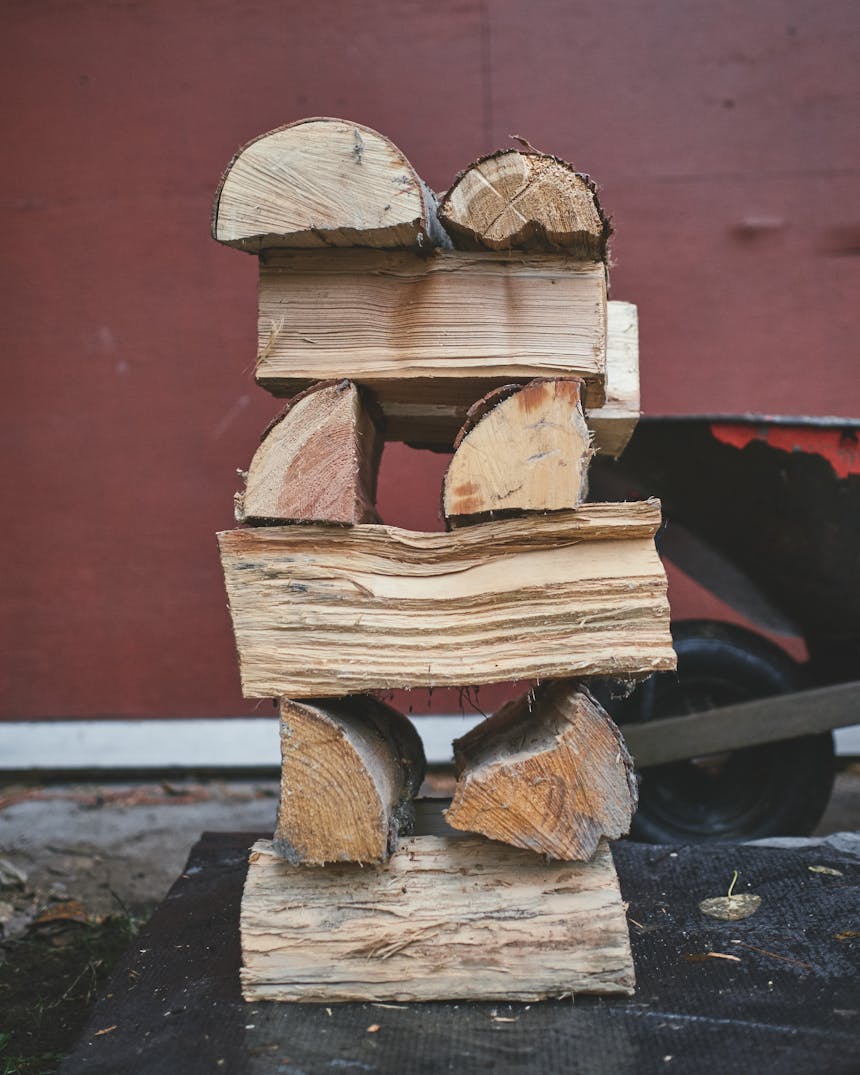
Step 3. BEGIN STACKING
Think of this next step like Jenga. Starting at one end of your base foundation, build a tower by laying 2-4 pieces of wood parallel to each other. Repeat perpendicularly until you reach 6 layers. Repeat at the other end of your foundation – you’ll stack the remainder of your wood in between these two towers, so give yourself ample space to stack all your wood. It can always be extended on one end.

Step 4. CONTINUE STACKING
Stack the remainder of your wood in between the towers, allowing adequate space between each log for airflow. Note: this doesn’t need to be stacked in the crisscrossed Jenga pattern, just place the logs where they best fit.
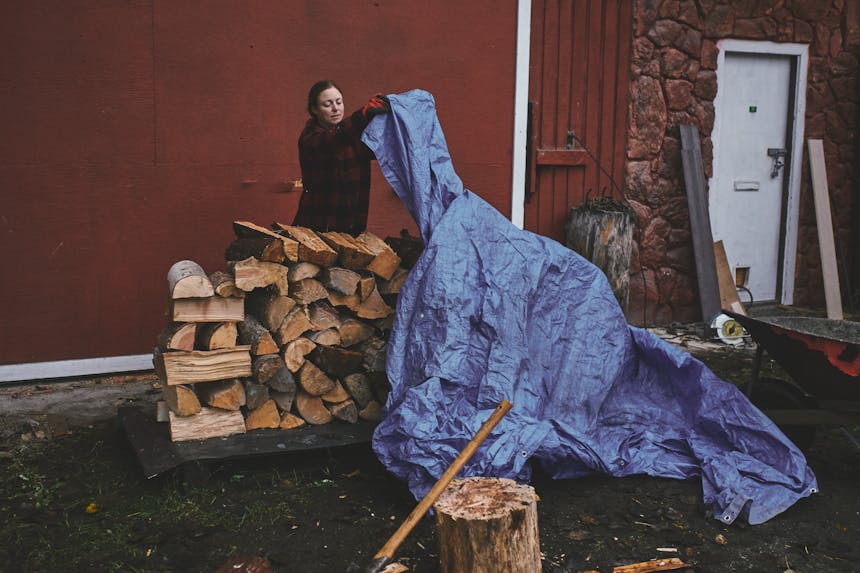
Step 5. PROTECTING YOUR WOOD FROM THE ELEMENTS
Continue stacking until you reach the height of your towers. If required, you can prop up your stack with poles or branches to prevent it from falling over. Use a tarp or plastic sheeting to cover the top of the wood – do not restrict airflow however, only the top needs to be covered. If you live in a wet environment, consider propping up the tarp to direct the flow of rainwater. Place rocks, or another heavy object, on top of the tarp, to prevent from blowing away.