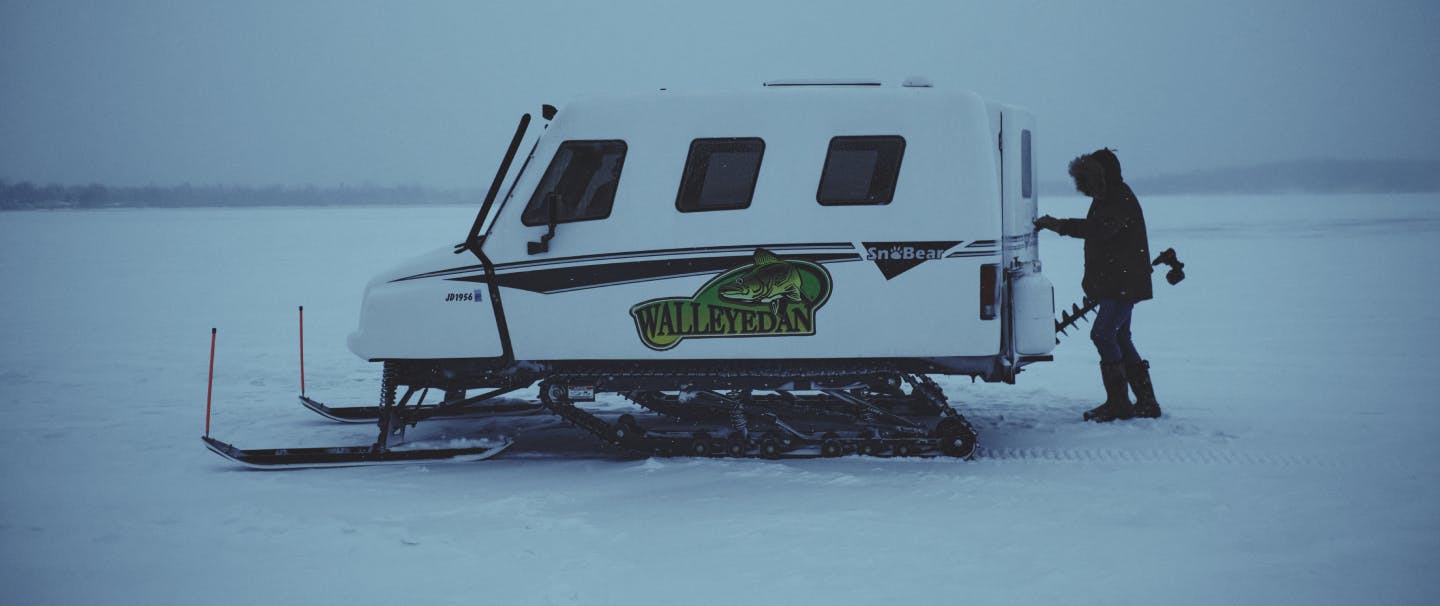
“Over the last 40 plus years as an ice fisherman I’ve experienced firsthand a lot of the major developments in our sport. From my early days on Round Lake in Eden Prairie, MN with my jiggle stick and wax worms to guiding clients in my SnoBear, I have been right in the middle of the modernization of this simple pastime. You can make it as simple or advanced as you’d like these days; that’s what is so fun, and why our sport is attractive to so many people. We are obviously blessed with many lakes here in Minnesota, and a lot of fish, so the opportunities abound.” — Walleye Dan

You don’t need to break the bank to start ice fishing.
1 of 1
GETTING STARTED
At first ice, say four inches, all you really need is a bucket, a chisel, a rod or two, some bait, and a throw cushion to set on top of your bucket when it comes time to fish. You don’t need to break the bank to start ice fishing.
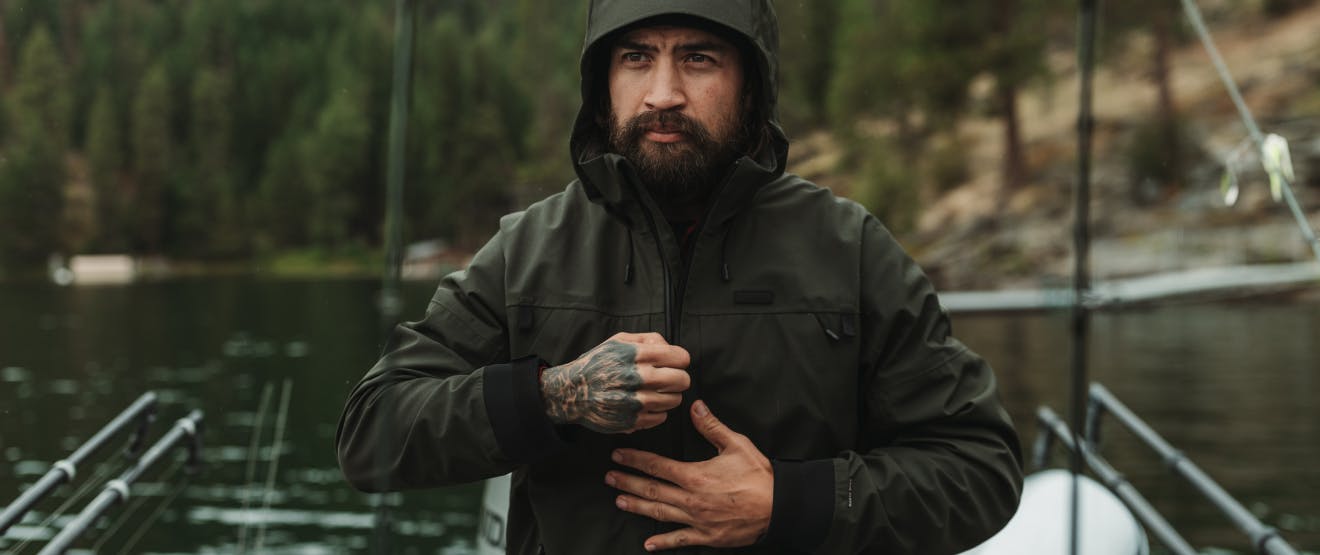
As far as clothing goes, a layering system is very important, especially if you are walking some distance to your favorite spot. A merino wool base layer is key. As for outerwear, the market is full of bibs and parkas, some of which feature buoyancy, so shop around to find a set that appeals to you.
If you want to add electronics, a sonar is key. This piece of equipment not only tells you the depth of the water you are considering, but it reveals everything in the water column (including your bait and any interested fish that may be lurking). I have used Vexilar since my dad first purchased one back in the early 80s—you will outfish anyone on the ice that doesn’t have one!
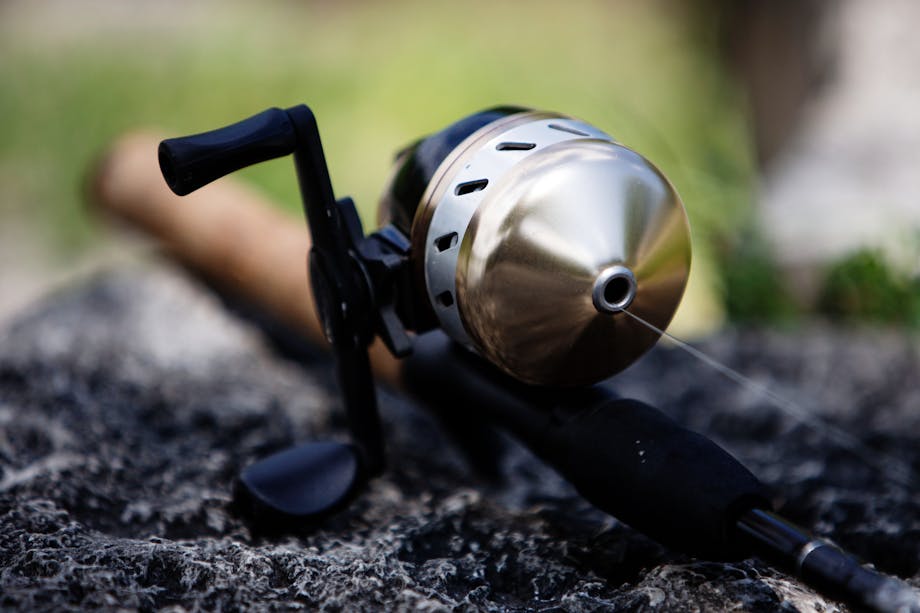
When it comes to bait, there are of course many options. There are aggressive baits (jigging Rapala’s and Northland Tackle’s buckshot rattle spoons just to name a couple) for those active, voracious feeders and then there are more subtle presentations like the old slip bobber and a minnow, tip-up, or jig head and minnow. When it comes to minnows, I use fatheads when tipping spoons or jigs and rainbow chubs or golden shiners on the slip bobber setup or on tip-ups.

ICE SAFETY
Always practice safety when ice fishing—if you use common sense you shouldn’t have any worries.
The standard has always been 4” of ice for foot travel and 12” for vehicle travel. I like 8” for my SnoBear. I have pushed the envelope in the past, but now that I’m a bit wiser, I try to play it safer.
Bottom line: be smart and don’t take chances on the ice.
There is good, strong ice, which is typically black, and there is bad or weak ice, which is white and was formed out of more slushy conditions. Try to bring a buddy even if it’s your “secret spot”. That buddy could save your life if you were to get in trouble. I like to bring a throw cushion with a rope attached when heading out early in the season. If you are unsure of the ice depth, make sure you have a chisel with you so you can test as you go. As I mentioned above, some of the clothing on the market these days has flotation built right into it. And yes, let your loved ones know where you’re going and when you plan on coming back.
HOW TO ICE FISH
1 of 1
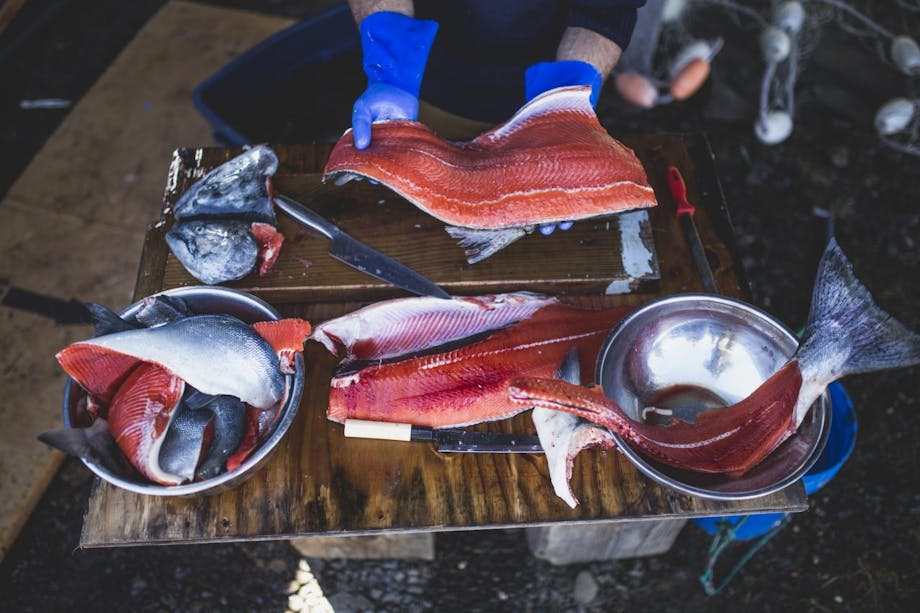
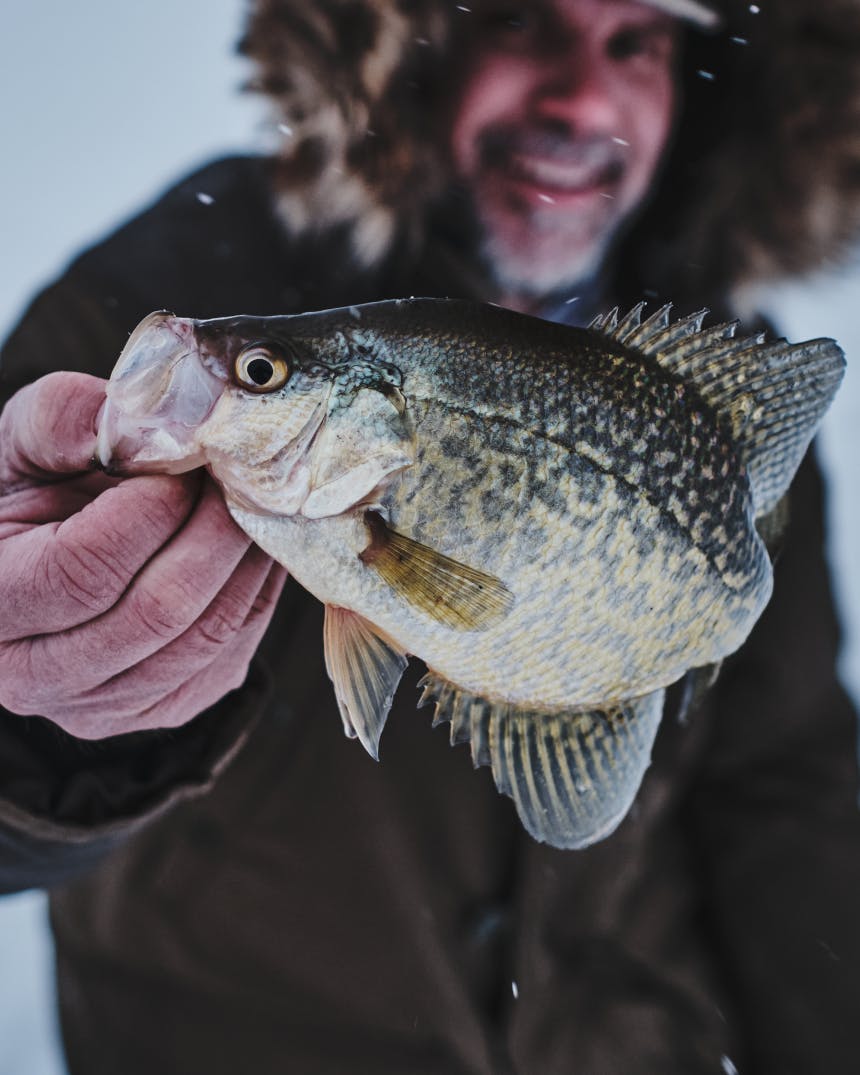
I’ve always loved to fish all species, but walleye has always been my #1. Panfish take a really close second on my list. When I head out on my first walleye trip of the ice season, I go to my favorite spot on my favorite lake with my favorite lure, and I have success almost 100 percent of the time. I might not stack ‘em up, but I always catch something, and there are times where the action is “lights out”.
I’m really confident during the early part of the season because I’m dropping my bait on fish that haven’t seen any for quite some time. My favorite spot, a funnel-like structure that sits between two shallow grassy flats, has been strategically chosen. The deep water between the two flats is a perfect spot for walleyes to come up from the depths and ambush their prey, but rock piles, weed edges, points, and bottom transitions are some other places you might want to look for walleyes and other species. Don’t be afraid to fish deep—I’ve caught winter walleyes in 60’ of water. The problem with fishing this deep is that you will most likely kill them bringing them up because of the pressure change. It seems like 32’ is the magic number—deeper than that and you will probably have to keep what you catch.
1 of 3
2 of 3
3 of 3
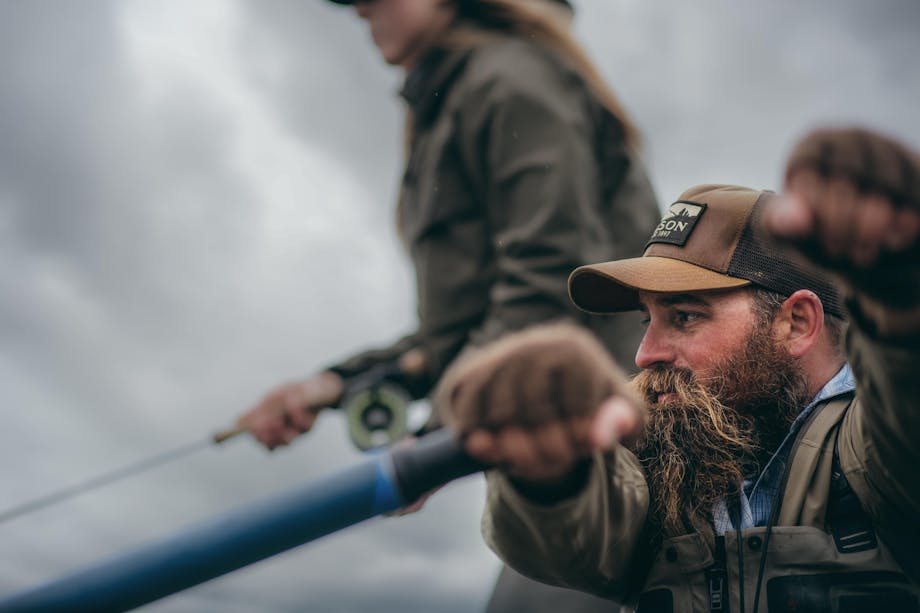
I like to have my holes drilled before 3:30 p.m. so things can settle down before “prime time”, which for walleyes is 4:30 p.m., as this is about when the sun is at the level of the tree tops. Walleyes can see better than their prey in low light and this is typically when their feeding frenzy happens. I’ve also found that even after you’ve caught one, you best get baited back up and drop your bait back down immediately because more than likely there will be more. If the “bite” is really on, you can stack ‘em up in a hurry! If you’ve been fishing a spot for a day or two with little action, it’s time to get on the move—just like on the open water in other seasons, mobility is really key in the winter. These fish are chasing the forage and they won’t always be interested in one place all season. I like to drill a lot of holes around a particular location and give each hole five or so minutes. For drilling, a lightweight auger is the way to go, and for the last few seasons I’ve been using the K-Drill Ice Auger paired with a cordless Milwaukee Fuel 18-volt lithium ion drill. It’s lightweight, extremely quiet, and great for reopening holes.
When it comes to rods, I like a longer rod (up to 40”) when fishing outside and much shorter when fishing in a house or in the SnoBear. I will load my spinning reel with 8-lb braided line and then tie on a barrel swivel or use an alberto knot to merge my braid with 8-lb fluorocarbon line so the business end is harder for the fish to see. As for my “go to” lure, I’d have to say it’s a buckshot rattle spoon by Northland. They offer a large selection of colors and sizes, and I carry a wide variety depending on how deep I’m fishing. Quarter-ounce green glow is probably my favorite and I’ll tip it with a fathead minnow head—yes, just the head. It’s a smaller target and it is more likely that when the fish hits it there will be hooks in its mouth. I’ve found that the best trigger to get the fish to bite is a fast quiver/shake as your are pulling the bait up and away from them. If you’ve watched them come up numerous times and they don’t bite, it’s time to go to a more subtle presentation like a jig and minnow or slip bobber and minnow.

WALLEYE DAN’S FIRST OUTING OF THE SEASON
On my first outing this season, I really packed light—I had my chisel, one ice fishing rod and reel with a tied-on jigging spoon, my Vexilar FLX 28 sonar, and a water bottle with some fatheads inside. It was morning, and after a pretty healthy walk out to my favorite spot (navigating with my phone and lake map app), I chiseled a hole in the ice in 30’ of water. After dropping my sonar transducer in the hole, I dropped my jigging spoon with just the head of a fathead minnow on one of the hooks of treble hook. The sonar/flasher is a real game changer. They are so sensitive that you can see the tiniest bait down as deep as 60’, and when a fish comes in to look at your bait, you know it! That red line that indicates a fish is an automatic heart thumper. It didn’t take longer than seven minutes for me to see my first red line, and it came right up and thumped me. It was a 21” walleye, and boy did that feel good.