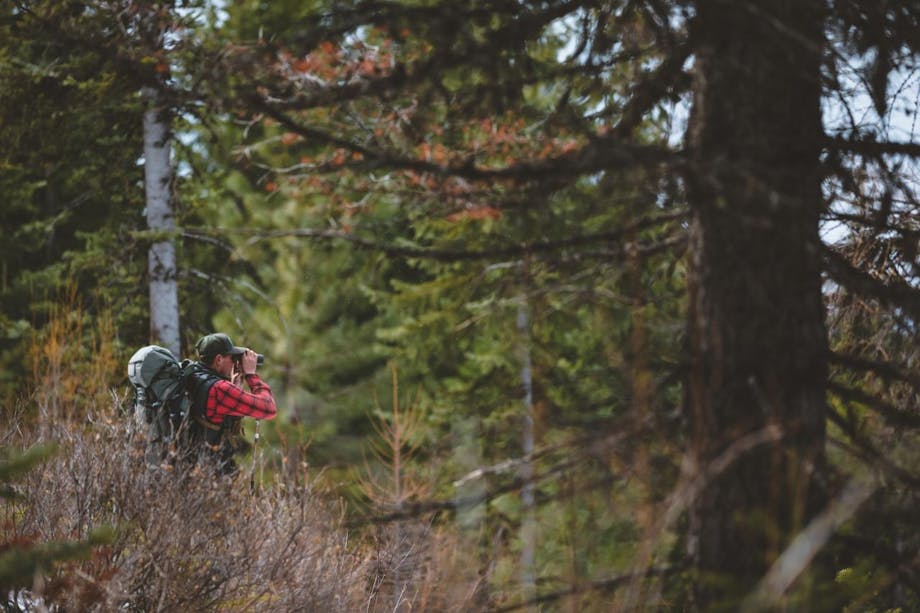
If you’re fortunate enough to harvest an antlered animal for the freezer this fall, a European mount is a tasteful way to display the antlers in your home or garage. Taxidermists often charge a couple hundred bucks for the service, but it’s a great DIY project. Everyone seems to have a different way to do it, this is my process.
Things you’ll need:
- One propane burner
- One 5-7 gallon propane tank
- One large pot (a pot for deep frying turkey is about the right size)
- Pressure Washer
- One small paintbrush
- One container of 40 volume hydrogen peroxide
- Dish washer detergent
- Duct tape
- Aluminum foil
- Sharp knife
- Latex Gloves
- Eye Protection
- Clothes that won’t mind being dirty.
1 of 3
2 of 3
3 of 3
Step 1: First, remove the hide, eyes and flesh from the skull with a sharp knife, and take extra care to pry the hide from the base of each antler – a flathead screwdriver works great. This chore is best done in the field, or as soon as possible after taking the animal (the longer it sits with hide on, the more it’s going to smell when you finally get around to it, and the more difficult it will be to whiten).
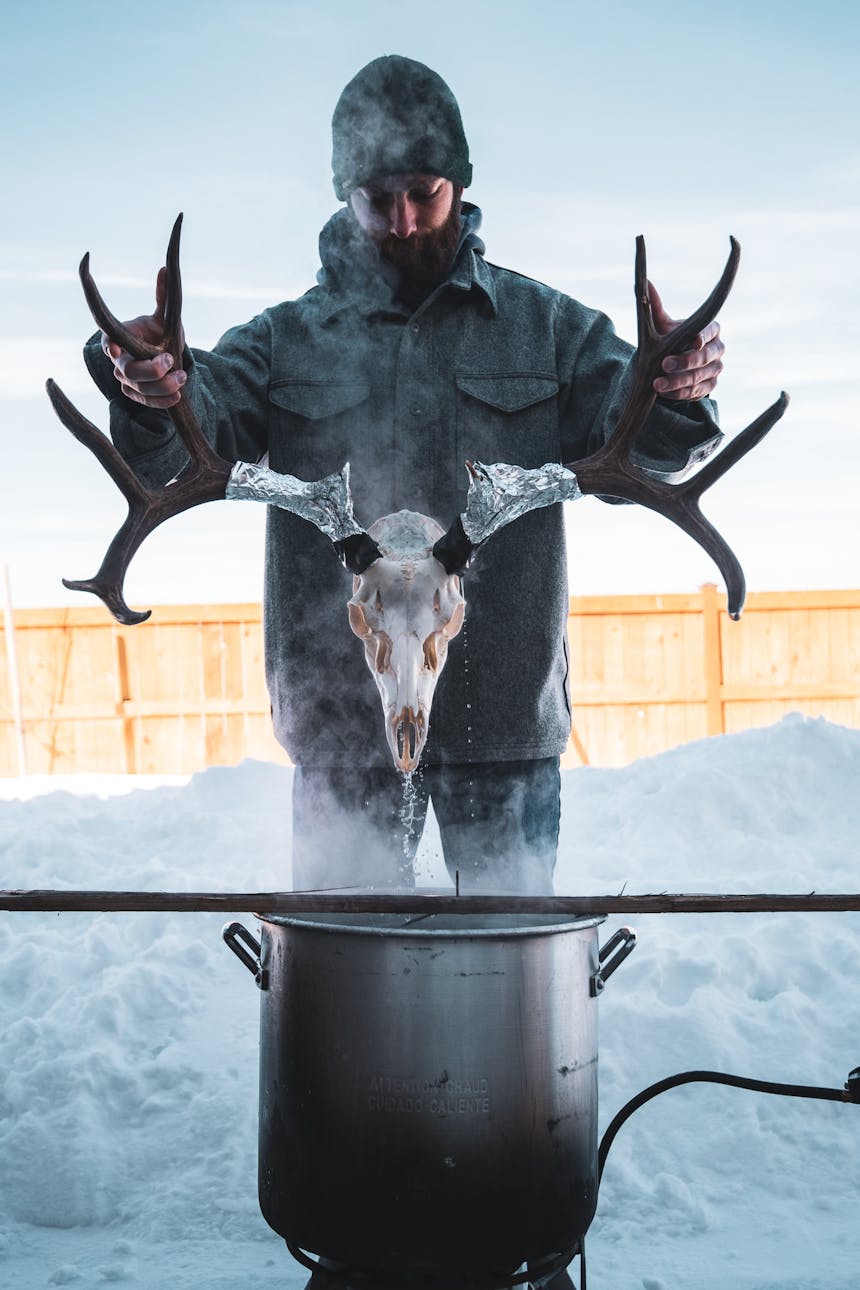
Step 2: Next, fill your pot with water and place it on the lit burner. You’ll want just enough water to cover the skull, but not so much that your antlers are totally submerged. While you’re waiting for it to heat up, wrap each antler in aluminum foil and secure with duct tape. This will keep the boiling water and steam from discoloring your antlers.
Step 3: Place the skull in the pot and let it sit for 1-2 hours.
Step 4: Remove the skull from the water and remove any bits of flesh or matter still clinging to bone with a knife (it may be necessary to do this a couple of times throughout the process). Check the aluminum foil to make sure it’s secure and your antlers aren’t being exposed to water directly. Then, change your water, heat and add in a scoop dishwasher detergent and your skull. Wait 1-3 hours.
Step 5: Remove the skull and, using the pressure washer, remove any remaining bits of skin and flesh – be careful to avoid spraying any exposed antler to avoid discoloration. (A local DIY carwash works great too, just don’t tell them who sent you). By now you should have a skull void of any flesh; it should be clean bone, though probably not very white. If necessary, repeat steps 4 and 5 until the skull is in satisfactory shape.
Step 6: Don your latex gloves and paint your skull with the 40 volume hydrogen peroxide. Let your skull sit for for several hours, then rinse and repeat to reach your desired whiteness. I like a bone-white look as opposed to a bleached-white appearance, but everyone has their preference. Remove the aluminum foil and rinse any remaining peroxide or residue from the base of each antler.
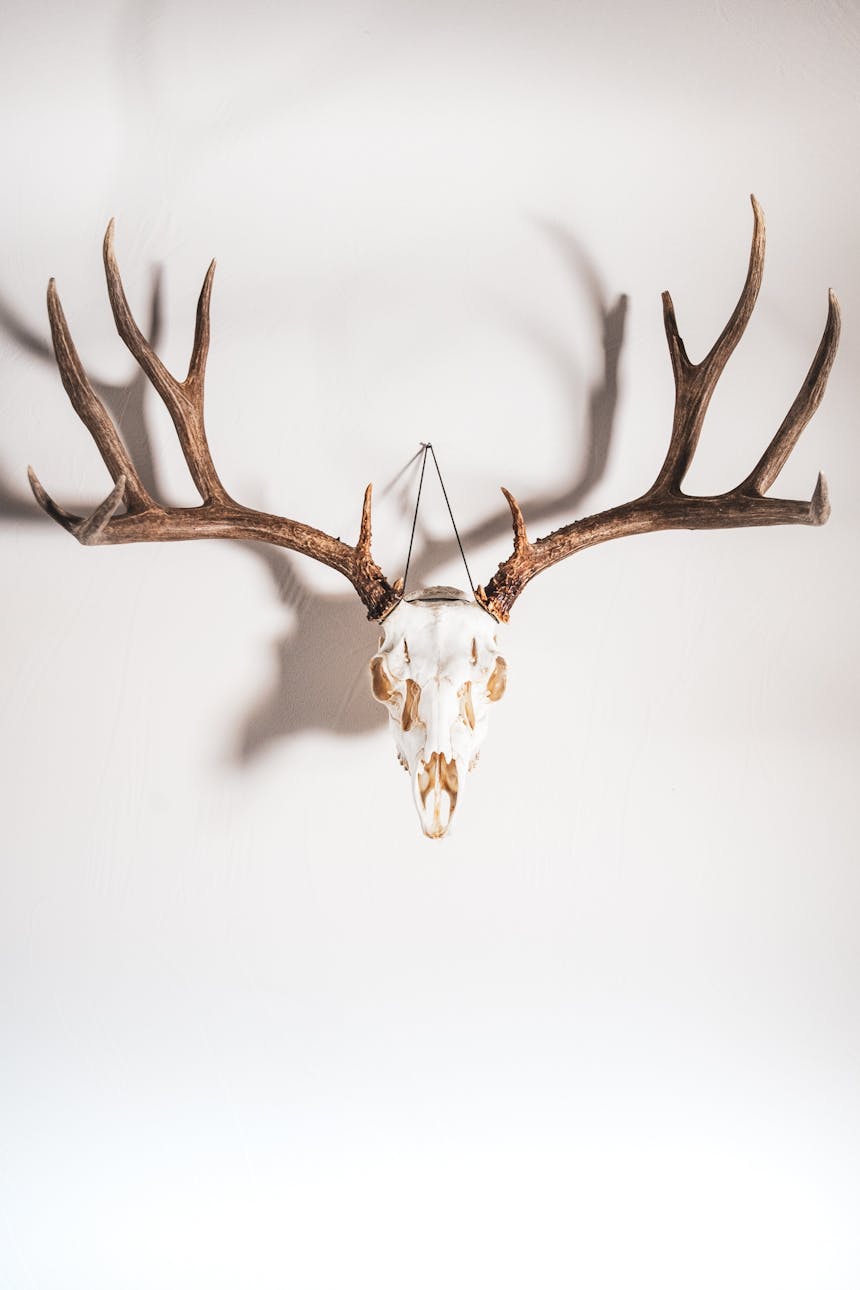
Once the skull is dry, you’ll have a clean, sanitary piece ready for display in your house or garage. Commercial hangers for European mounts are available through a number of sources online, but, if you’re pinching pennies, a two-foot length of 550 cord and a finishing nail will do the job.