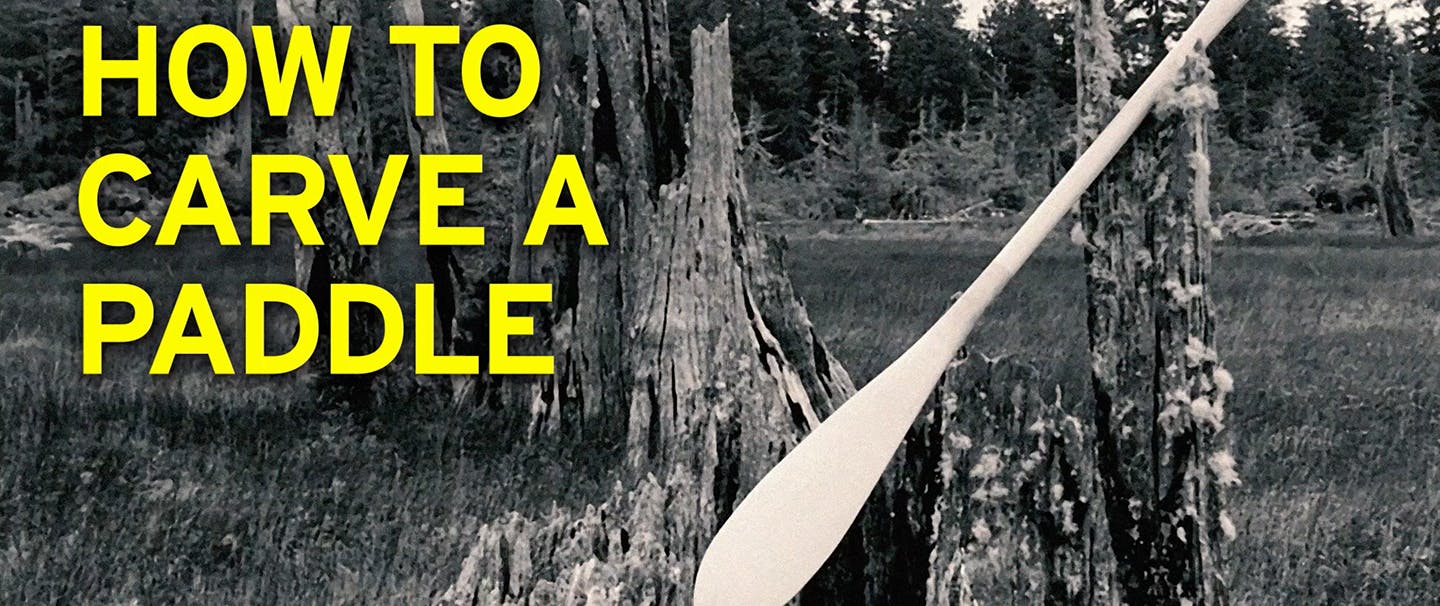
CARVING YOUR OWN WOODEN PADDLE MAY SEEM LIKE A DAUNTING UNDERTAKING, BUT THE PROCESS IS REWARDING BEYOND THE SATISFACTION THAT COMES FROM MAKING SOMETHING THAT WILL LAST A LIFETIME WITH YOUR OWN HANDS. “SEEING A PADDLE EMERGE FROM A PLANK OF WOOD IS ONE OF THE MOST TRANQUIL WAYS TO SPEND A FEW HOURS I’VE EVER EXPERIENCED,” SAYS JORDAN HANSSEN. IN THIS HOW-TO, JORDAN WALKS THROUGH THE STEPS HE’S MASTERED TO SPARE YOU A FEW HEADACHES AND MAKE THIS PROJECT AN ENJOYABLE ONE.
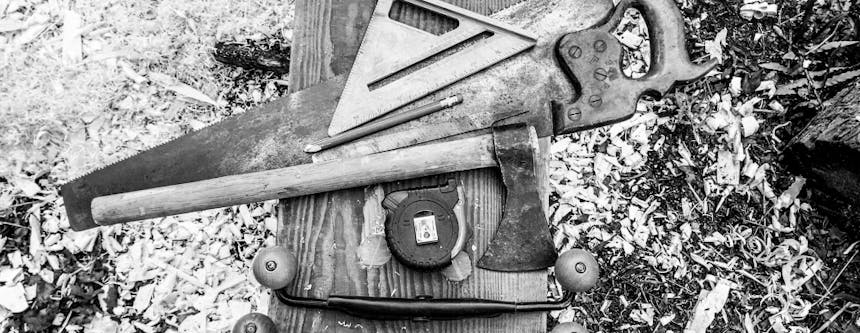
TOOLS
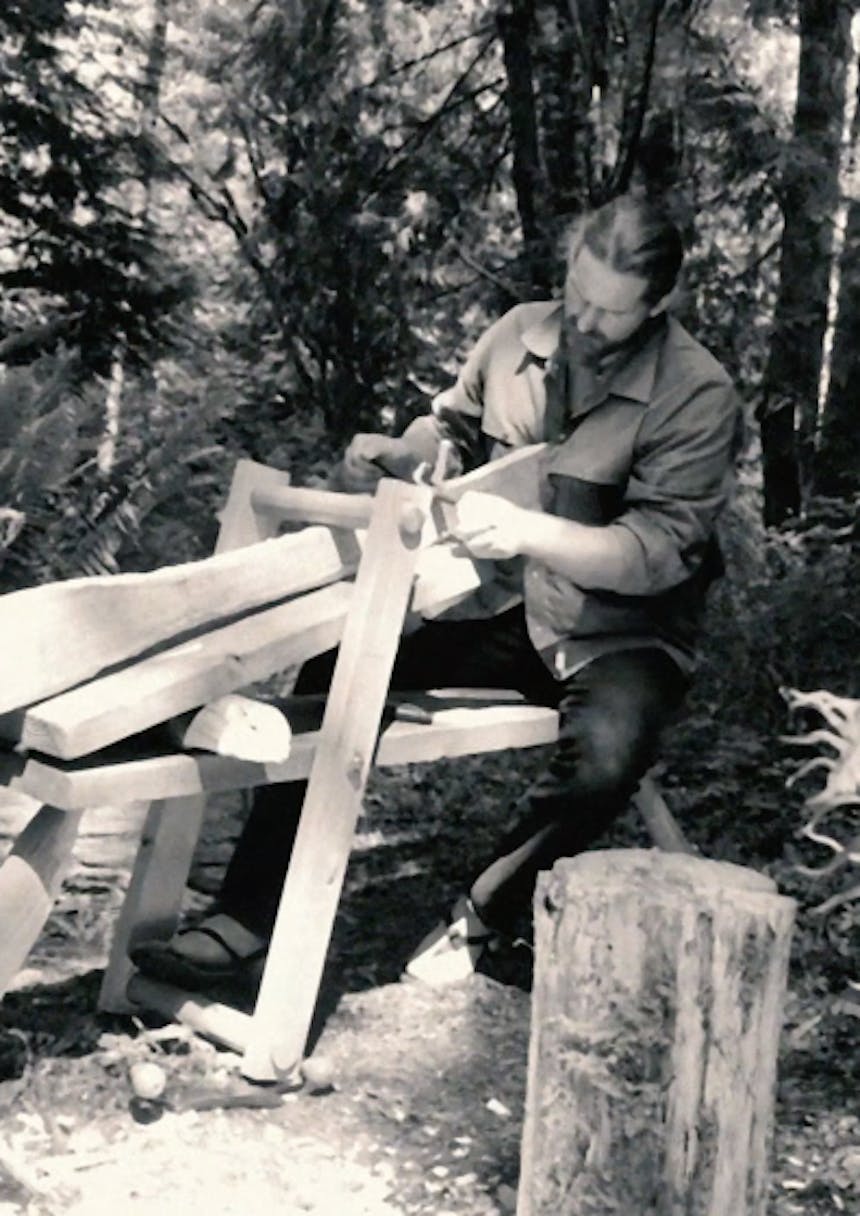
My carving tools were a drawknife, hand plainer, saw, a selection of sandpaper, brushes, and varnish. I built a shaving horse to secure the plank. However, I’ve made other paddles using clamps and blocks of wood.
THE WOOD
I selected a six-foot 2 x 6 of Alaskan Yellow cedar for its qualities of weight, rot resistance, durability, straightness, and clarity of grain—no knots.
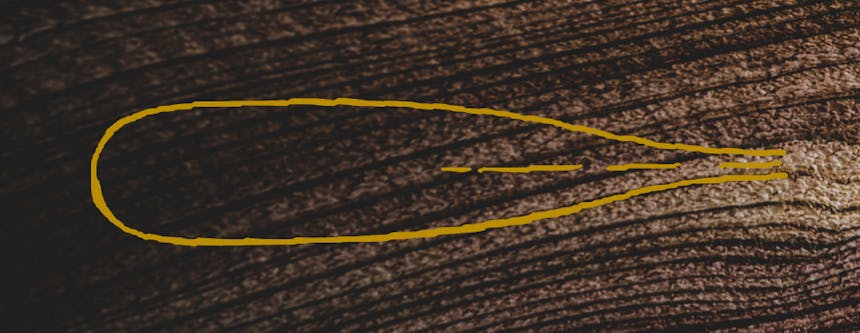
The length of a canoe paddle is a lot of personal preference. Something between 48 to 60 inches long and about two-parts blade to three-parts shaft. My design was an elongated raindrop fit to the width of the board. For the shaft width, I measured two inches in from each side of the board and did this twice to make sure it was centered.
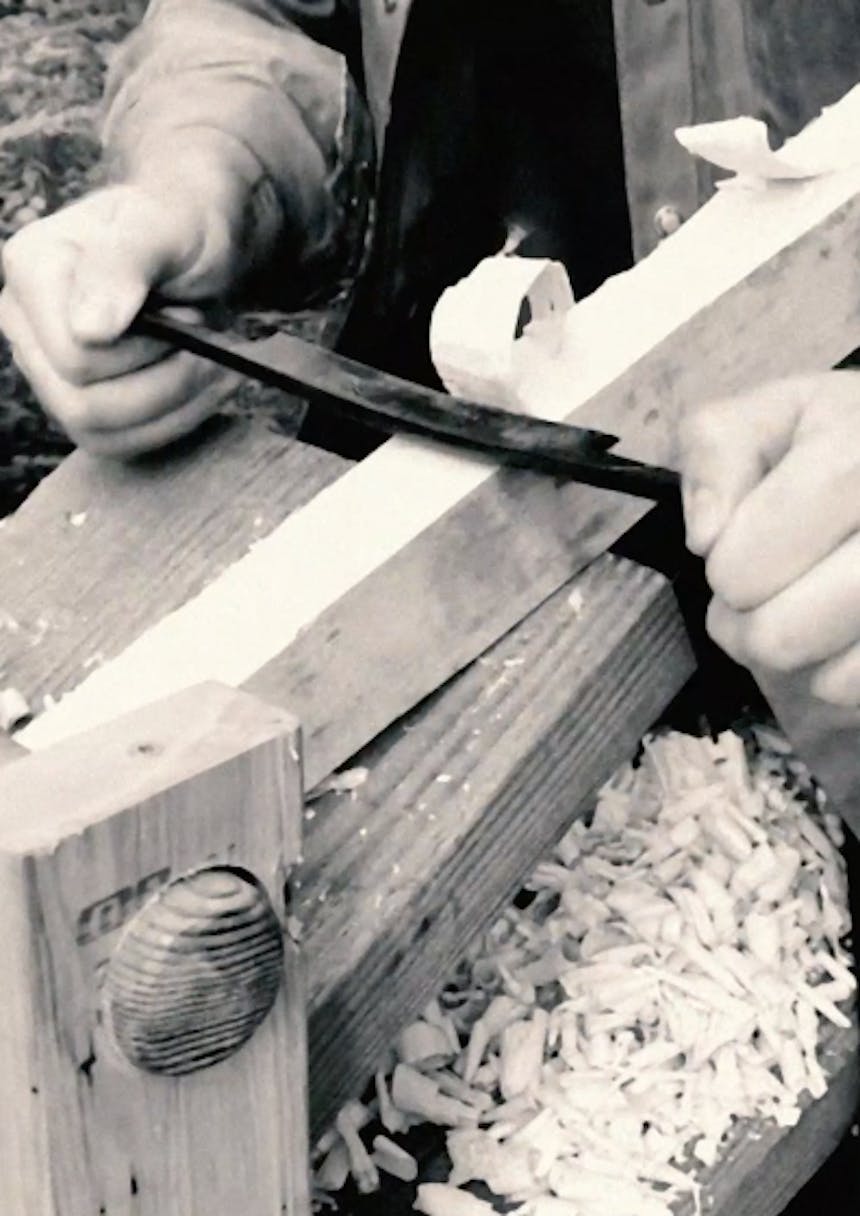
After cutting the board to length, I roughed out the bulk of the material with a tomahawk. Then I secured it to the shaving horse and went to work with the drawknife. These two handled blades are powerful and satisfying to work with. Woodgrain carves differently on each side of the plank. It takes some time to figure out the proper direction and the grain might change on you mid carve.
Once I whittled to the edge of my penciled outline, I began to round out the shaft. Then moved toward carve in the camber of the blade—often pausing to run my hands over it to feel for high spots and symmetry. Once I removed all the wood I could with the drawknife, I went to my hand plainer. I used this much the same way and continued to follow the line of the grain.
1 of 3
2 of 3
3 of 3
Turning my attention to the handle, I carefully knocked the corners and edges off with a drawknife and worked it further with the plainer until it fit comfortably in my palm.
With sandpaper, I worked my way up until the imperfections fell away. I was left with an object that looked like a sun-bleached bone. The dust is fragrant but irritating, so I wore a bandana. The smell of the wood is overpoweringly pleasant.
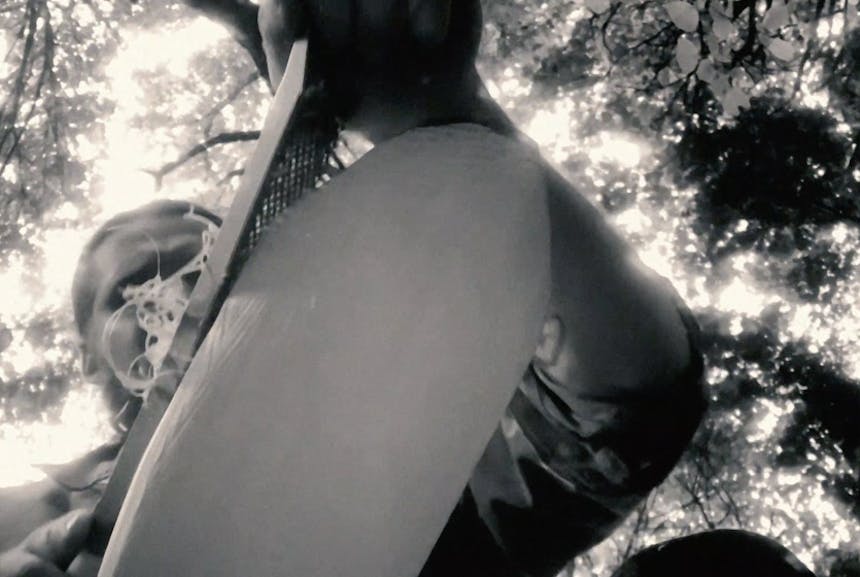
Finely sanded raw wood is so pretty. It’s also kinder on the hands than the finish, so I taped the end and the handle and the area of the shaft where I thought I’d be doing most of my paddling. Then I put on five to seven layers of varnish with light sanding in between. On the raw wood, I worked in beeswax, but any wood oil would do.
1 of 1
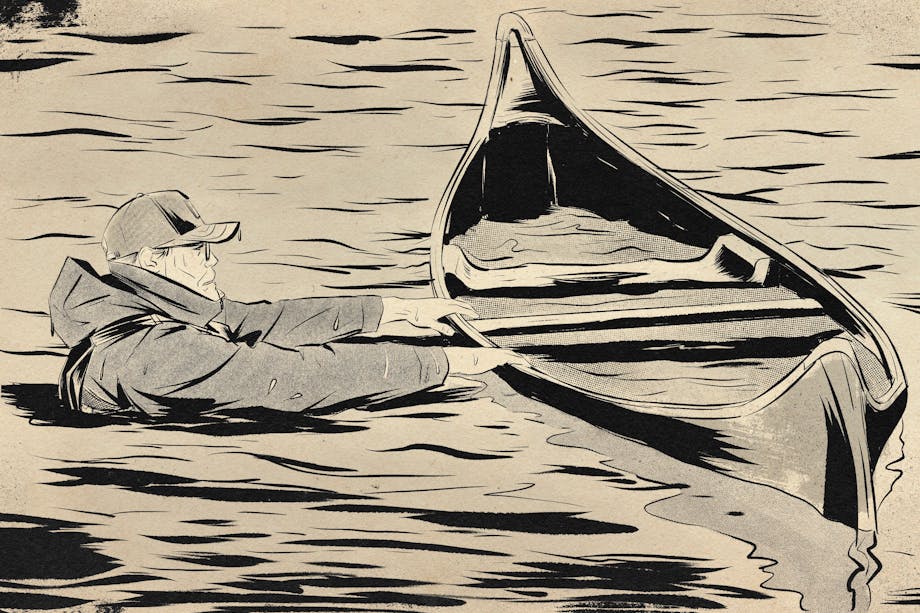
THEN I ADDED WATER