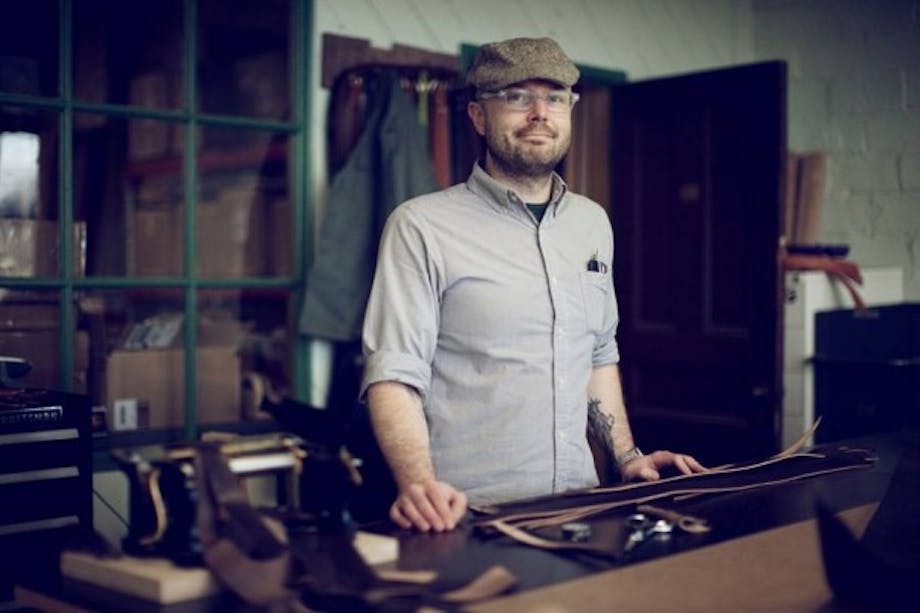
 Matt Pierce is a modern day jack of all trades. Born in Kansas, the tinkerer’s interests in carpentry and mechanics were honed through interactions with close friends and family. Eight years ago, Matt gathered the gumption to uproot, leave Kansas, and relocate to Portland, Oregon. Currently, he runs a blog entitled Wood&Faulk and carries a line of his own craftsman goods. Today, Matt illustrates how to construct your very own archery quiver.
Photos courtesy of Wood&Faulk.
I took up archery not too long ago and realized it can be extremely relaxing when things get stressful. The bad news is, I’ve been pretty busy in the shop and haven’t shot much lately. However with all this shop time, I have been working on a quiver. When I finally do make it out to the range again, I won’t have to carry my arrows in a rubber band.
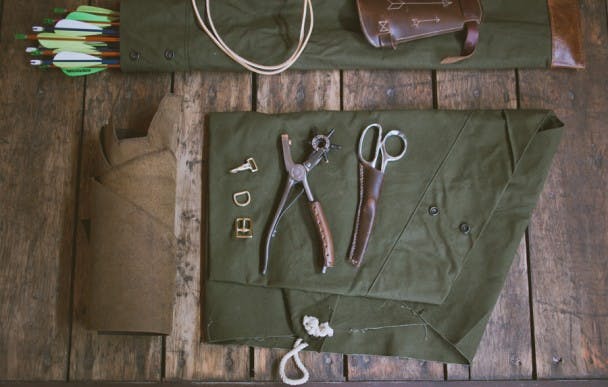
Here’s the instructions to make one for yourself. Like all my experiments on here, there’s lots of ways to do this, and modifications for your own use too. My plan went like this: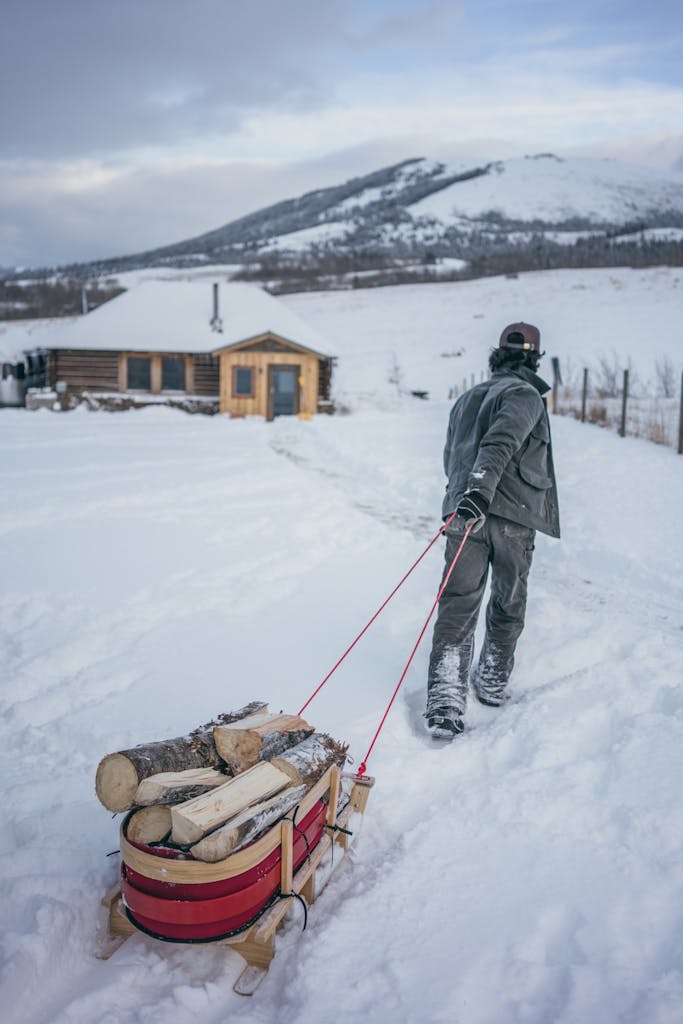 Start by cutting your main material into three parts for the body. Two pieces 6”x26” and one pocket piece at 6”x12”. Cut a piece of leather or other thicker material for the bottom at a dimension of 6”x7.5”.
 Lay the pocket piece flipped and reversed onto one of the body panels and sew the bottom of the pocket to the body. Then flip the panel over into place. Sew your leather bottom panel to the bottom of the first body panel, and then the other size to the second body panel. I used tape to align panels before sewing. You can use double-sized tape too, if you want them stuck in place.
 After all the panels are together, fold the panels in half, inside-out. Make sure your pocket is in the correct place and then clip or pin everything together.
 While still inside-out, make a tube and push the leather bottom seam to spread the open area and flatten and then sew a stitch perpendicular to the side seam.
 After sewn, cut the extra material off.
 Last steps are to attach hardware to the quiver body. I used copper rivets, leather bits, a d-ring and a small buckle to make strap attachment points. My strap is adjustable to either hang on my belt loop when I’m shooting or over my shoulder when walking to the range.