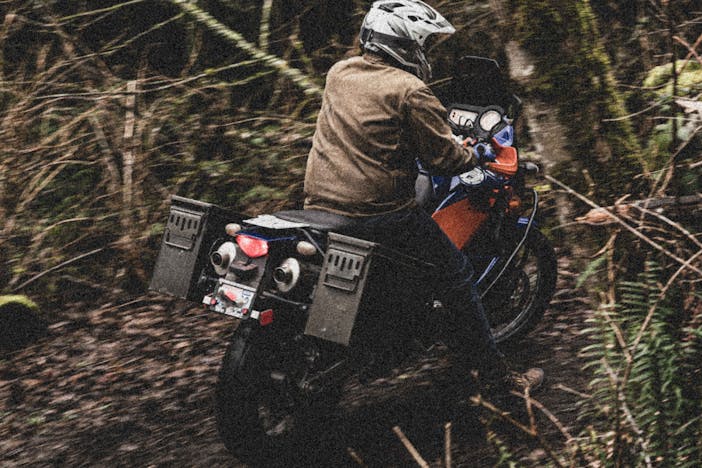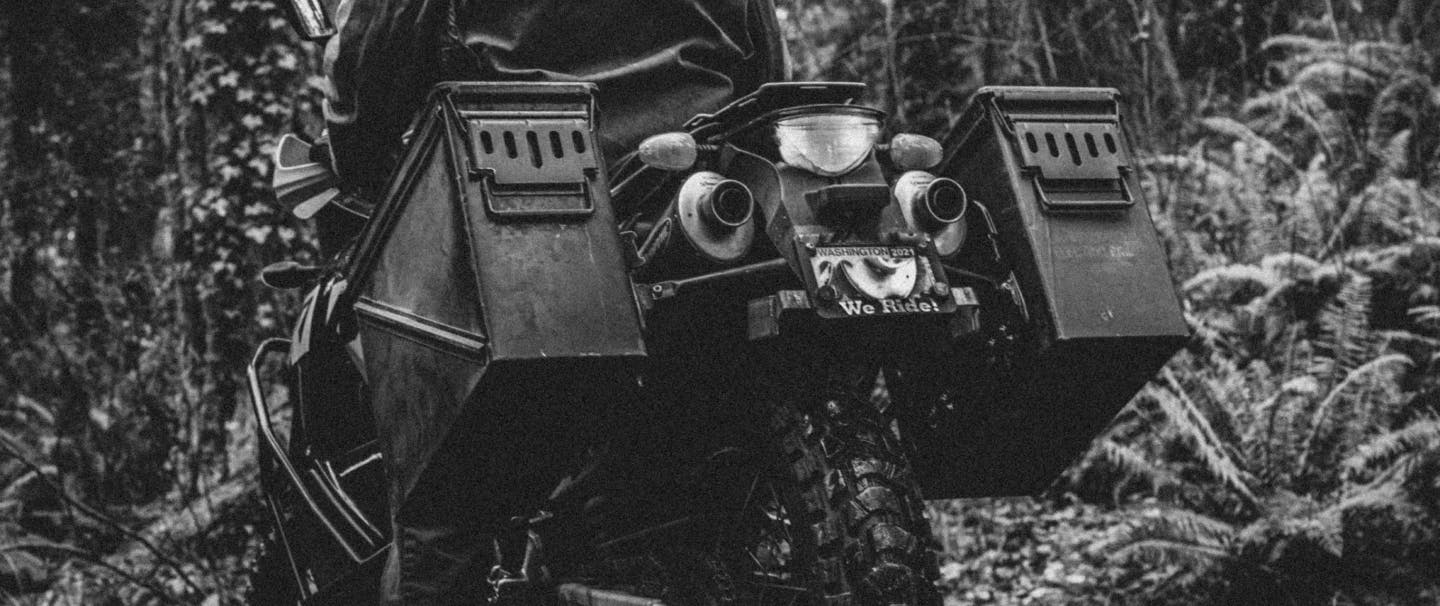
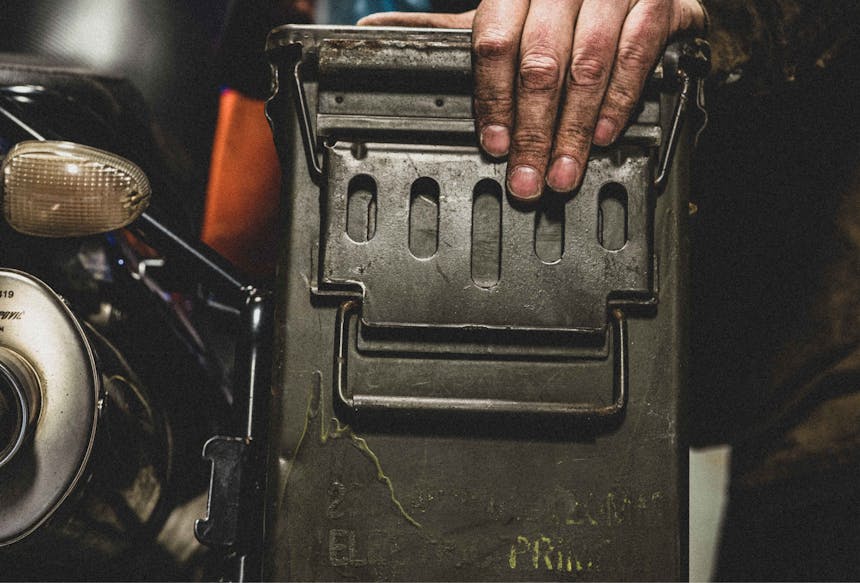
THE OBJECTIVE OF THIS BUILD IS TO COME UP WITH A LOW-COST SOLUTION TO THE MORE EXPENSIVE FACTORY-PRODUCED OR AFTERMARKET PANNIERS USED ON ADVENTURE TOURING BIKES. ENTER WATERPROOF ARMY SURPLUS 20MM AMMO CANS.
Most factory-produced pannier racks have become inexpensive enough and a homemade one takes considerable time to build. So we will concentrate on just the Ammo Can part of the build. The bike used in this installation came used with the factory racks installed, but the installation could be easily modified to fit almost any rack, including homemade. I chose easily available and inexpensive hardware to keep the cost down. You can substitute whatever is available locally. Also, the length of the hardware can easily be modified; if only longer bolts are available, simply cut down the excess threads.
Build time: 2-4 Hours
Cost: ≈$150
Design and Build by: Clint Kieffer
1 of 5
2 of 5
3 of 5
4 of 5
5 of 5
what you’ll need
20mm Ammo Cans (x2)
Five-knuckle hinge (x6)
¼-20 x ½ inch bolts (x30)
¼-20 x 1 inch bolts (x4) (or longer, depending on rack thickness)
¼-20 low profile nyloc nuts (x30)
¼ inch flat washers (x40)
¼ inch fender washers (x20)
1 roll Gorilla Tape (duct tape okay)
Optional:
U bolts ¼ x ¾ x 2 ½ inch (x4) (for locks)
Padlocks (x4)
Primer
Paint
Tools used:
Hammer
Pry bar
Chisel
Angle grinder
Cut off wheel
Flap sanding disk
Drill
17/64 drill bit (an oversized bit for ¼ inch bolts)
You can substitute a hack saw and file for the angle grinder with cut off wheel and sanding disk.
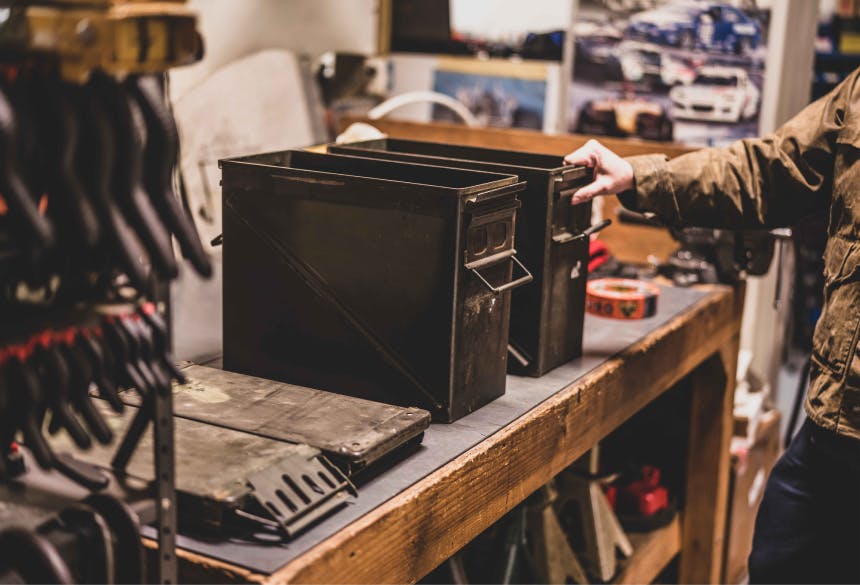
20mm ammo boxes found at most army surplus stores
the build
1. Remove the reinforcement rail on one side of each Ammo Can/pannier. A hammer and pry bar will usually work for this. If the reinforcement rail is stubborn, you may need to use a chisel on the spot welds.
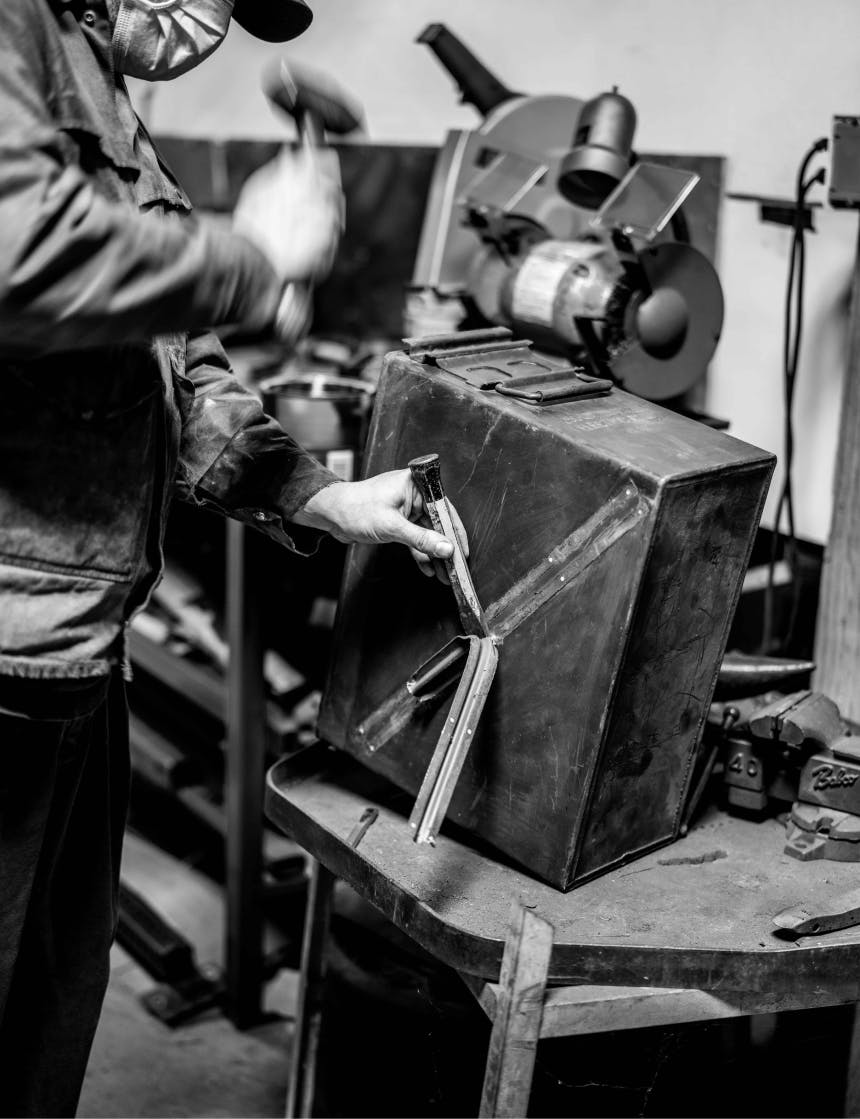

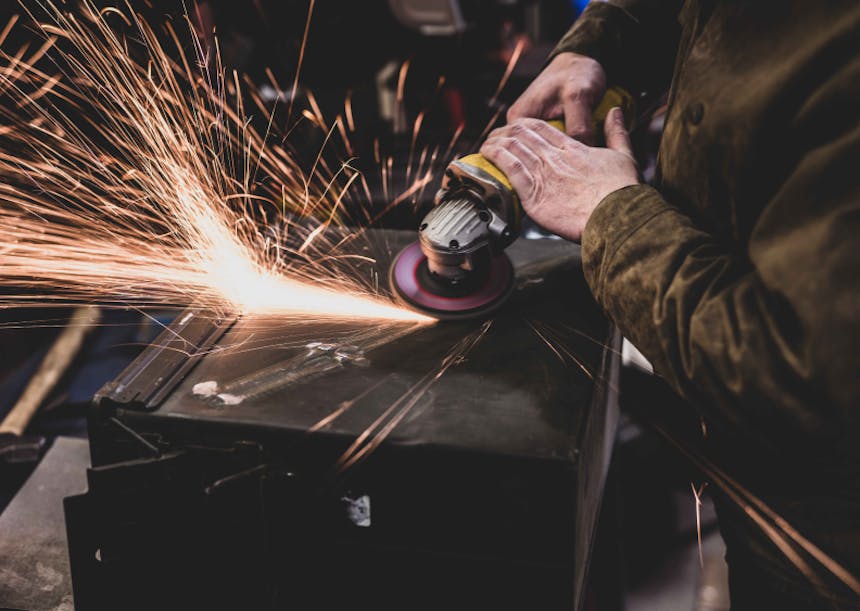
2. Grind or sand off any remaining spot weld that sits above the side of the box.
3. Remove the unused portion of the 5-Knuckle hinges.
Basically, you just need the S-bend portion to mount to the side of the pannier and allow it to drop onto the rack. Use a cut off wheel to remove the S-bend next to the hinge. Deburr the cut, so that no sharp edges are left. It is also a good idea to round the corners of the cut-off area to match the other part of the hinge and to avoid having a sharp corner that could tear into the side of the mounting surface.
1 of 5
2 of 5
3 of 5
4 of 5
5 of 5
4. Test fit the panniers with the racks on the bike and look for interference issues. Make sure that things like passenger foot pegs or seat release mechanisms are still accessible. If you have not used panniers before, it’s a good idea to temporarily mount the boxes, either using a helper or clamps, to test getting on and off the bike . This will ensure they will not interfere with the safe operation of the motorcycle. Mark out where you would like the rack to mount onto the inside of the pannier.
1 of 1
5. Remove racks and lay on top of the pannier on a workbench. Use the side you removed the brace from to face the pannier. Lay out the brackets where you want them, remembering that the pannier will need to come up an inch or so to release from the rack when mounted on the bike. Match up to the marks you made and adjust as necessary.
1 of 2
2 of 2
6. Mark out the holes in the brackets on the pannier. I used 2 lower and 1 upper, with an additional bolt to secure the rack to the pannier. I used a spot that already had a hole in the rack that a bolt fit through on the upper part of the rack. Unless the panniers are secured, the slightest bump in the road could mean the panniers fall off. Make sure to mark the securing bolt hole also.

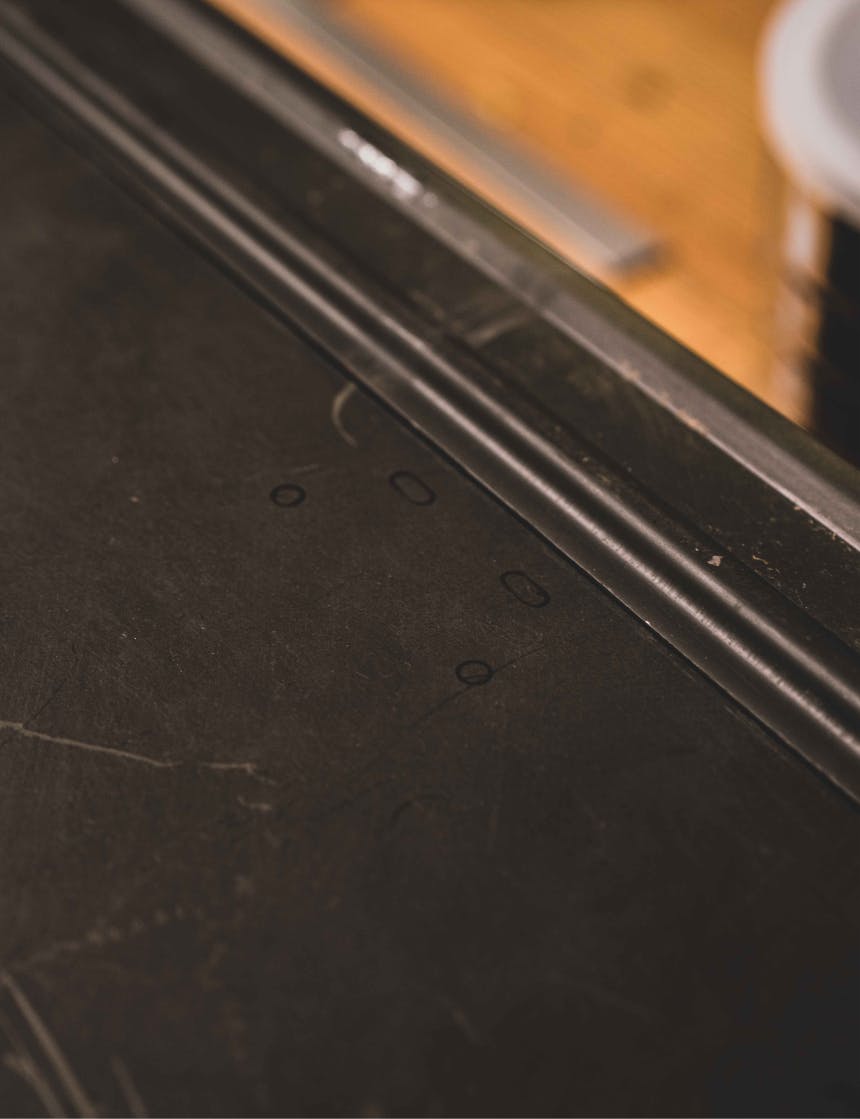
7. Drill all holes you have marked out on the pannier. The holes need to be slightly oversized to allow for misalignment. Deburr the holes on the inside of the pannier, so as not to leave sharp edges. If a deburr tool is not available, a larger drill bit turned by hand will do almost as good a job.
1 of 5
2 of 5
3 of 5
4 of 5
5 of 5
8. Install the brackets onto the panniers. I prefer the bolts facing inwards to make them harder to remove if locked. Install the brackets with the bolt and flat (smaller OD) washers on the outside. A combination of flat (smaller OD) and fender (larger OD) will be used on the inside of the pannier underneath the nyloc nuts. The larger OD washer helps to spread out the load on the thinner-walled pannier. You can install the bolts in either direction, depending on your preference.
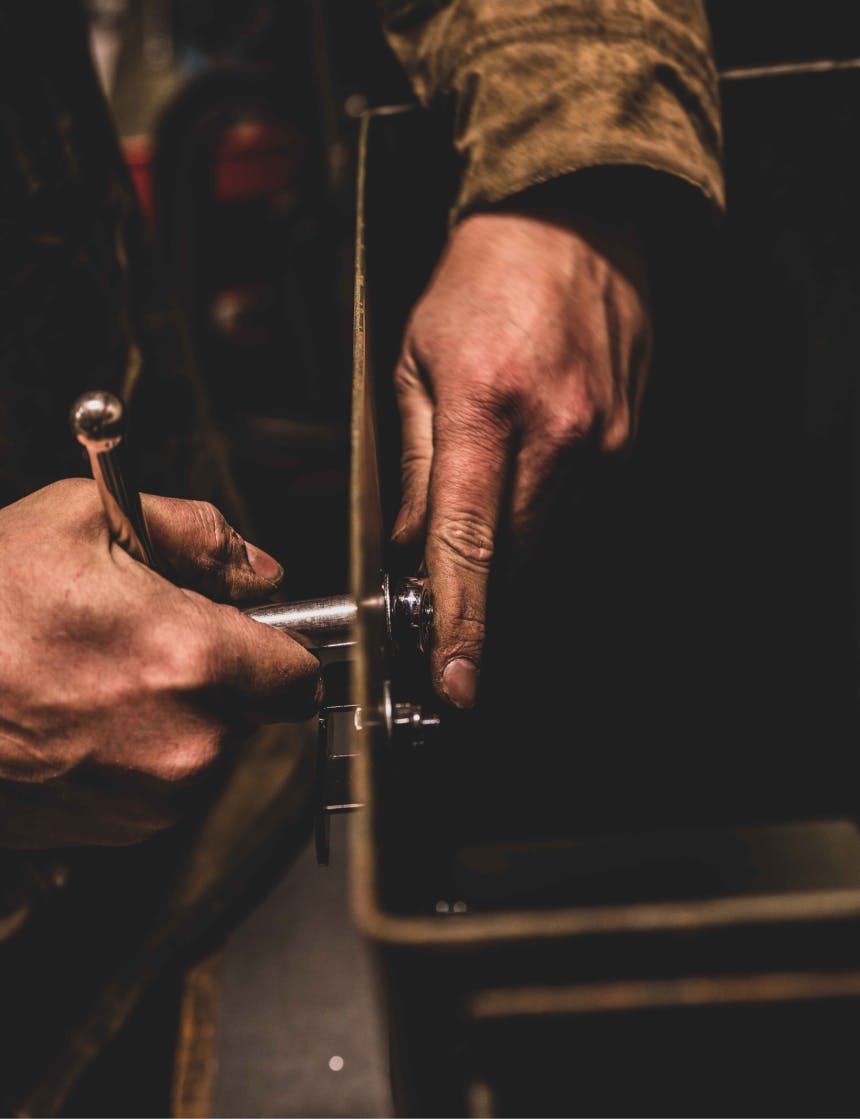

trim down bolts or cover to avoid catching and tearing gear
9. Reinstall rack onto bike and test fit first pannier. If you are happy with placement, copy for the other side.
10. You can use the tape to install the brackets or racks where the brackets sit. It helps to cushion the vibrations and cut down on wear and/or noise. I installed a layer to the inside of the hinges.
1 of 4
2 of 4
3 of 4
4 of 4
11. Paint any bare metal areas; for example, hinge cuts and/or area where reinforcement rail was removed.
12. Options include adding locks with U-bolts through the latches to secure with padlocks and/or priming and painting the panniers to your desired color. Currently, I’m going to leave these OD (olive drab) green.


ABOUT CLINT:
I grew up in the Great Pacific Northwest, hiking, fishing and camping in the Cascade Mountains of Washington State. After high school, I turned my passion for snowboarding into a career in the ski industry, spending 13 years working and playing in some of the best resorts in the west.
Later, I returned to an industry I had dabbled in: motorsports. Through a complete fluke, friends were building a race team to help their son get into road racing sports cars. I turned a chance into a 10-year career building and maintaining sports cars all over North America. From the shop in the pictures of the build to the high banks of Daytona, it was quite a ride. I put over 100,000 miles on a motorcycle I had bought new and rode 36 states (travelled to all 50 states), 4 Canadian provinces, and Mexico.
Currently, life has slowed down a bit. I work as a maintenance mechanic for a large facility for disabled people in Buckley, WA. It’s an interesting change of pace and a challenge learning new skills working with old-school technology, some dating back to the 1930s.
I’m always up for a ride. I currently own nine motorcycles and spend my free time exploring and camping all over the west by motorcycle.
Special thanks to Ted and Debbie Mundy for the use of the shop space.