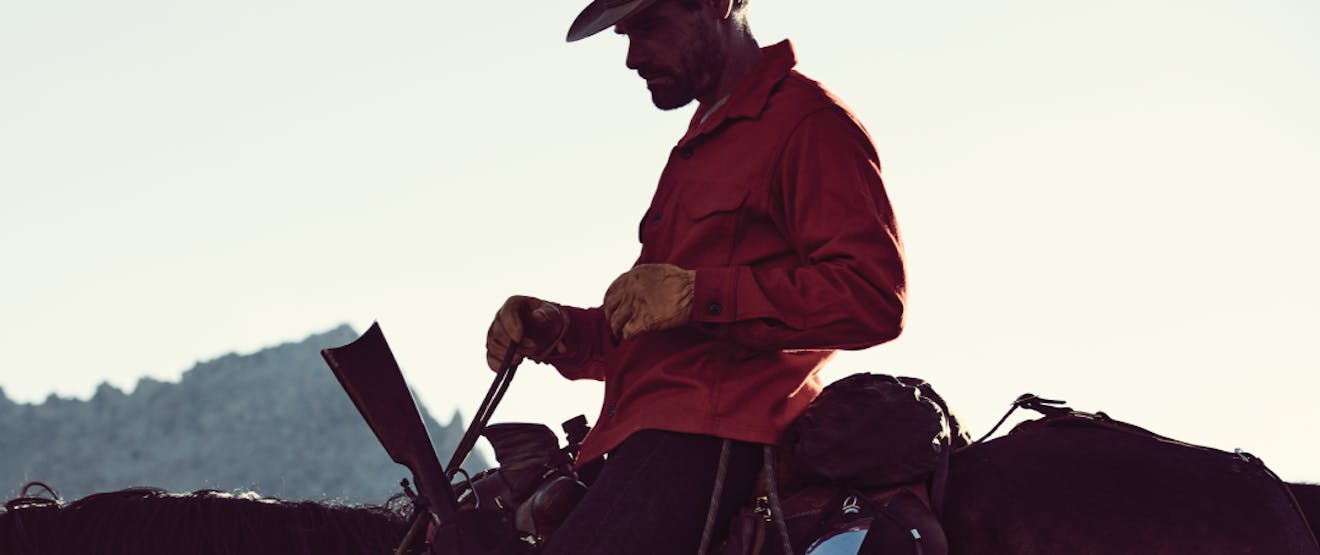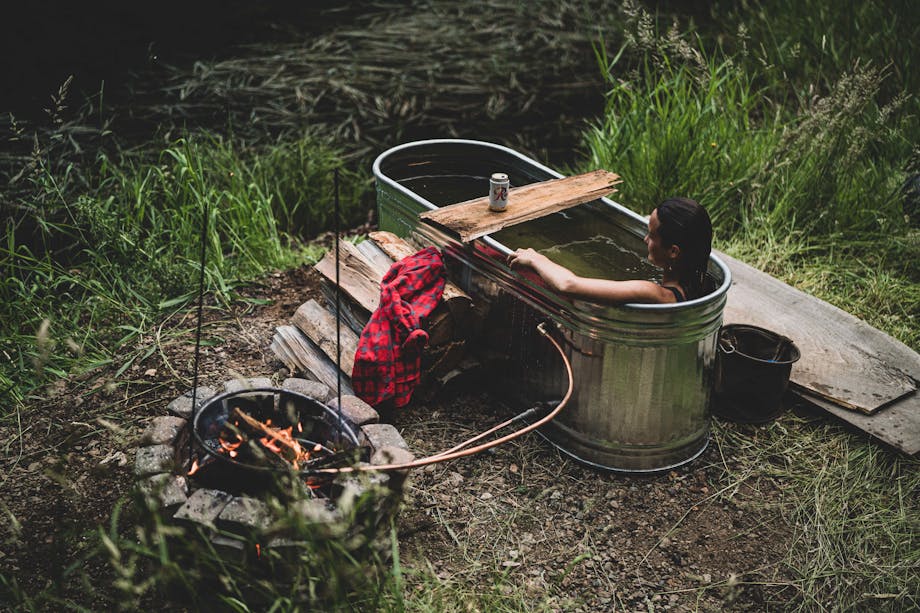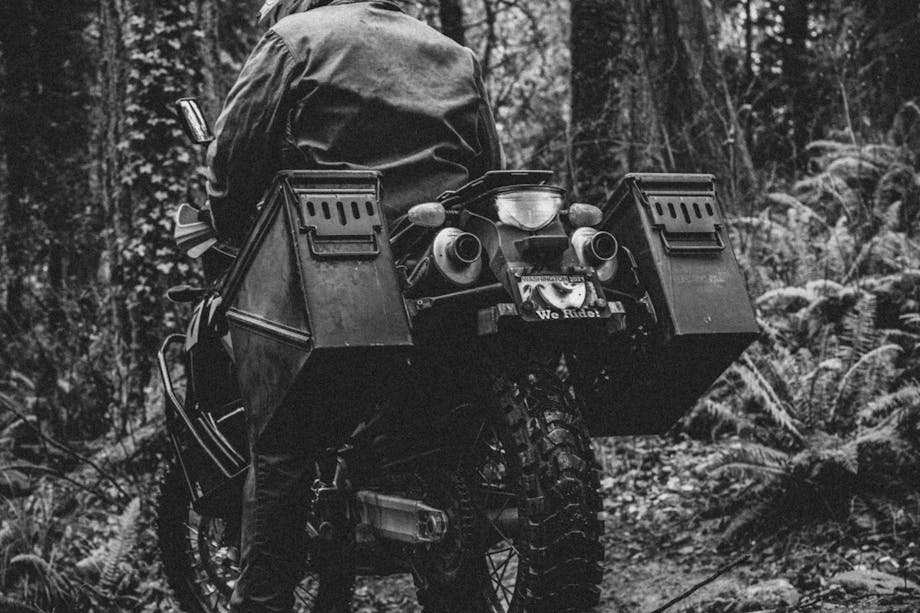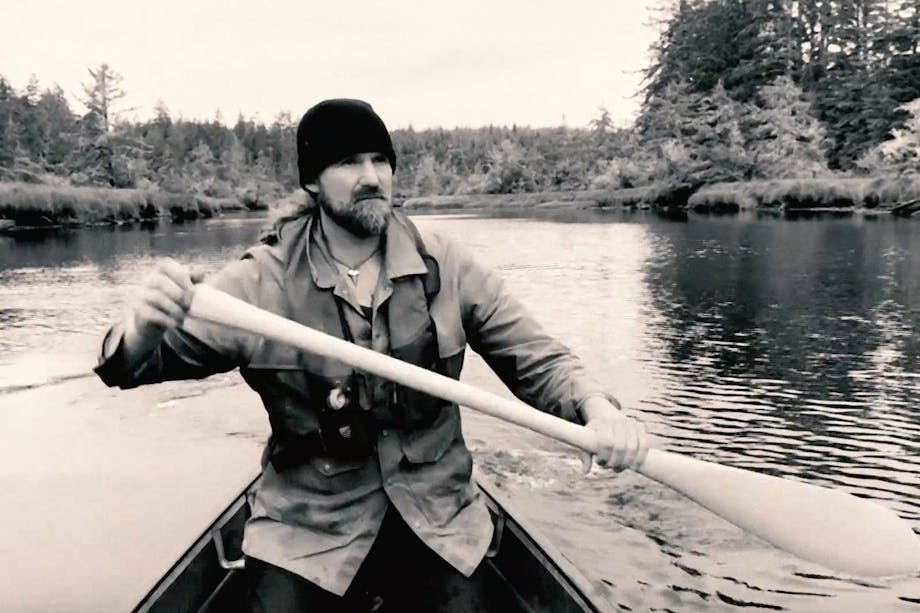
One of the best items to have on any outdoor excursion is a good seat. A seat can help keep you dry in wet weather, provide a spot to rest your legs for a bit, help keep you warm if it’s cold out, and, let’s be honest, it’s just more comfortable than sitting on hard rocks or snow. One of the simplest forms of a seat is a folding tripod. These are small because they fold when not in use, so they don’t take up much room in your pack or truck. It’s a great option for lunch breaks on the river during a day of fly fishing, a solid place to sit while glassing up wild game, or just a spot to take a load off around the campfire.

WHAT YOU'LL NEED
TOOLS
Tape measure
Marking pencil
Sandpaper and/or sander
Electric Drill w/ 1/4” bit and pilot-hole bit (1/16” would work great)
Knife
Rags
Heavy-duty fabric scissors
Hand saw or Miter saw
MATERIALS
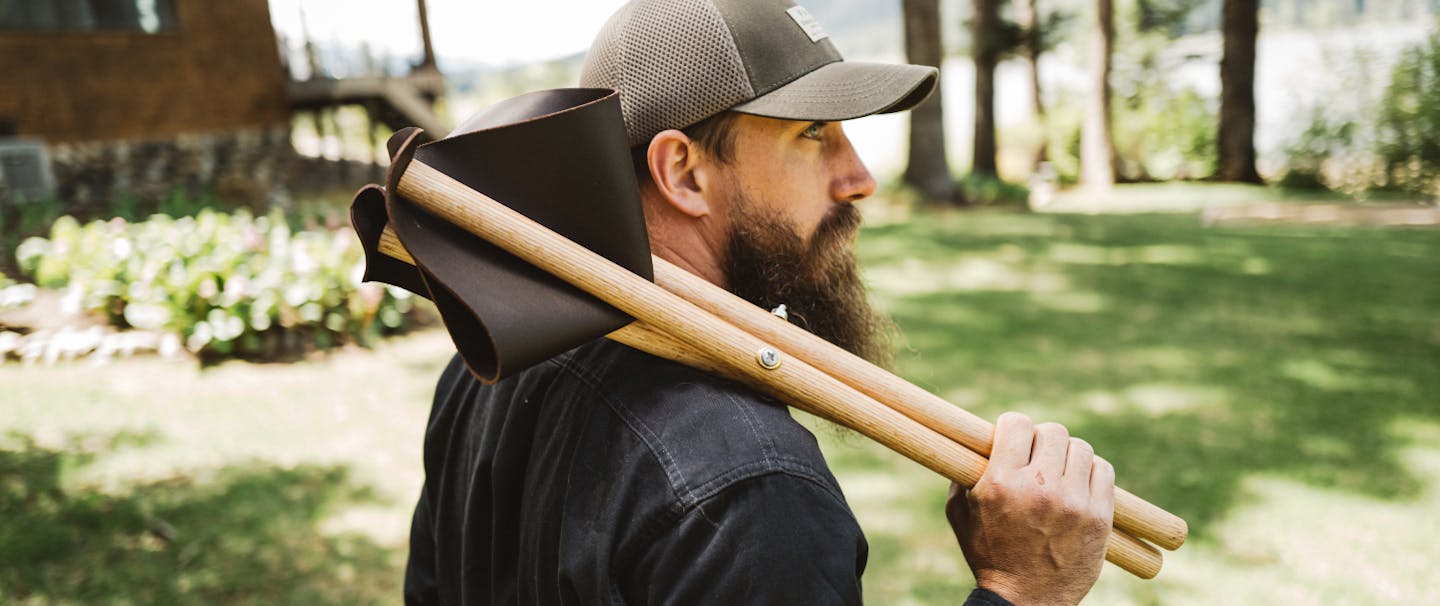
3 – Hardwood dowels (we used oak)
1 – 1/4” x 3” Steel bolt
1 – 1/4” x 2” Eyebolt
3 – 1/4” Nuts
3 x Brass washers
3 – Brass finishing washers
3 – 1” Brass wood screws
36” x 36” Heavy material for the seat (we used some recycled Bridle Leather from the Filson Restoration Department)
Tung oil, or any other type of wood sealant/finishing product

INSTRUCTIONS
1. If your dowels are not already cut down to 24”, start by doing so with the hand saw or miter saw.
2. Measure and mark a hole 10 1/2” down from the top of all of the dowels and drill a hole through those marks all the way through each dowel.
3. Mark the center of each leg’s top with your pencil and drill a small pilot hole to keep the legs from splitting when you insert the wood screws for attaching the seat.
4. Round off the bottom of each leg that will be touching the ground by sanding with sandpaper or an electric sander and wipe any excess dust off with a slightly damp rag before proceeding. This will give the seat a little more contact with the ground for extra stability.
5. Use a rag to apply the tung oil on each dowel and set aside to dry.
6. While the dowels dry, get your sheet of leather out and cut an equilateral triangle. This step might require a few measurements once the dowels are actually dry to get the correct size for the seat. We had to do a few iterations before finding the right size. Just make sure to overestimate. You can always cut more off, but you can’t add more material back on—we ended up using a triangle with 19 1/2” sides. Use a piece of cardboard or paper as a template for the seat.
7. After the dowels are dry, you can begin to assemble the legs. Start by placing a washer on the 3” bolt and inserting the bolt into the hole of one of your legs.
8. Next, place the eyebolt onto the bolt and push the remaining length of the bolt through the hole of a second dowel; cap with a washer and one of your 1/4” nuts, not tightening fully but leaving a little room for the legs to move back and forth.
9. Place the eyebolt through the hole in the third dowel and cap with another washer and 1/4” nut.
10. At this point, you should be able to unfold your stool and see its final shape.
11. Attach your leather seat by using your brass wood screws and brass finishing washers. Do not overtighten during this step as doing so may cause the dowel to split if you’re not careful.
12. And there you have it! Grab your favorite brew, start a fire, and enjoy your craftmanship in comfort.
1 of 5
2 of 5
3 of 5
4 of 5
5 of 5